
Shower preparation
Removal, repairs and plumbing establish the starting scope.
CUSTOM TILE SHOWER IN DENVER, CO
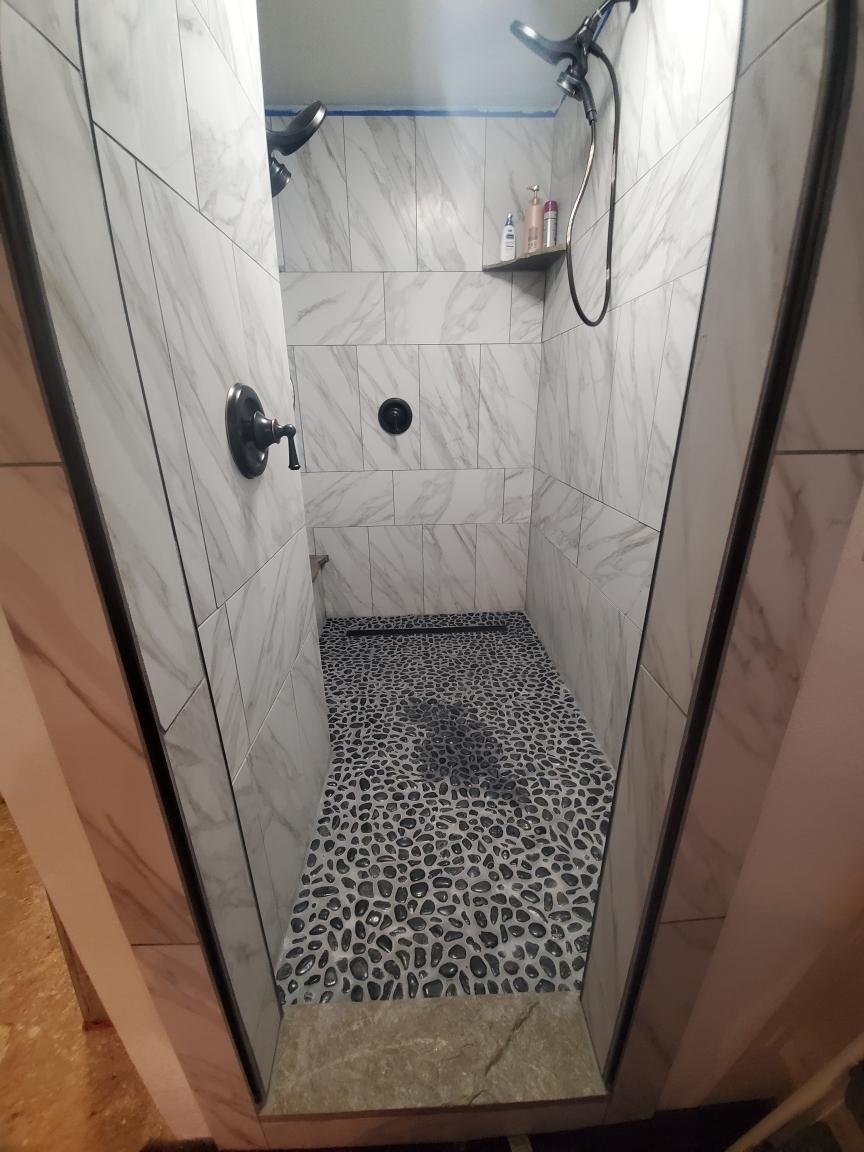
A tiled shower brings the floor, walls, storage and enclosure into one design. The tile pattern gives it character, while the work underneath determines how it handles daily use. Denver Basement Finishing Pros offers custom tile shower work as part of its bathroom services, with room to coordinate the shower with the surrounding renovation.
PLANNING YOUR INVESTMENT
The existing space and the work involved shape the estimate. Discuss your goals with us during a property walkthrough.
Removal, repairs and plumbing establish the starting scope.
Material choices, patterns, niches and benches affect installation.
Glass, hardware and adjoining surfaces complete the shower.
Request a project-specific estimate for your home and planned improvements.
Request an estimate01 / YOUR BATHROOM PROJECT
The first decisions are about movement and reach. The shower entrance needs a comfortable approach from the bathroom, and the controls should be accessible without an awkward stretch around a fixed glass panel. A bench can be useful, but its depth also takes away standing space. These details deserve attention before the tile layout is settled.
Storage belongs in that early plan. Bottles sitting on the floor interrupt cleaning and can crowd the area around the drain. A recessed niche keeps supplies within reach without projecting into the shower. Corner shelves offer another option where the wall cannot accommodate a recess. Their positions should suit the people using the room, rather than simply following the midpoint of the wall.
A custom tile shower can feel spacious without taking over the bathroom. Clear glass keeps the tile visible, while an enclosure with more privacy changes the view from the doorway. The important question is how the entrance, showerhead and storage work together within the available footprint.
For more on entrance and enclosure choices, explore walk-in shower installation.
TILE SHOWER PLANNING
Coordinate the shower details02 / YOUR BATHROOM PROJECT
Wall tile and shower floor tile have different jobs. A glossy surface can bring light to a wall, but a floor needs a product specifically suitable for wet shower use. Appearance alone does not establish that suitability. The selected tile's published application information should guide the choice.
Tile size affects the design as well. Small pieces can follow the changing slope around a point drain, while larger pieces need a layout that accommodates the floor geometry. A linear drain can allow a different slope arrangement, but it must be planned with the base rather than added as a decorative replacement at the end.
Compare the tile choices as a complete shower.
A restrained combination can make individual details easier to appreciate. A patterned floor may be enough of a focal point beneath quieter walls. Tile with strong veining needs its own layout review so the cuts around shelves and fixtures do not look accidental.
For adjoining walls and flooring, bathroom tile installation explains how those surfaces connect with the shower.
03 / YOUR BATHROOM PROJECT
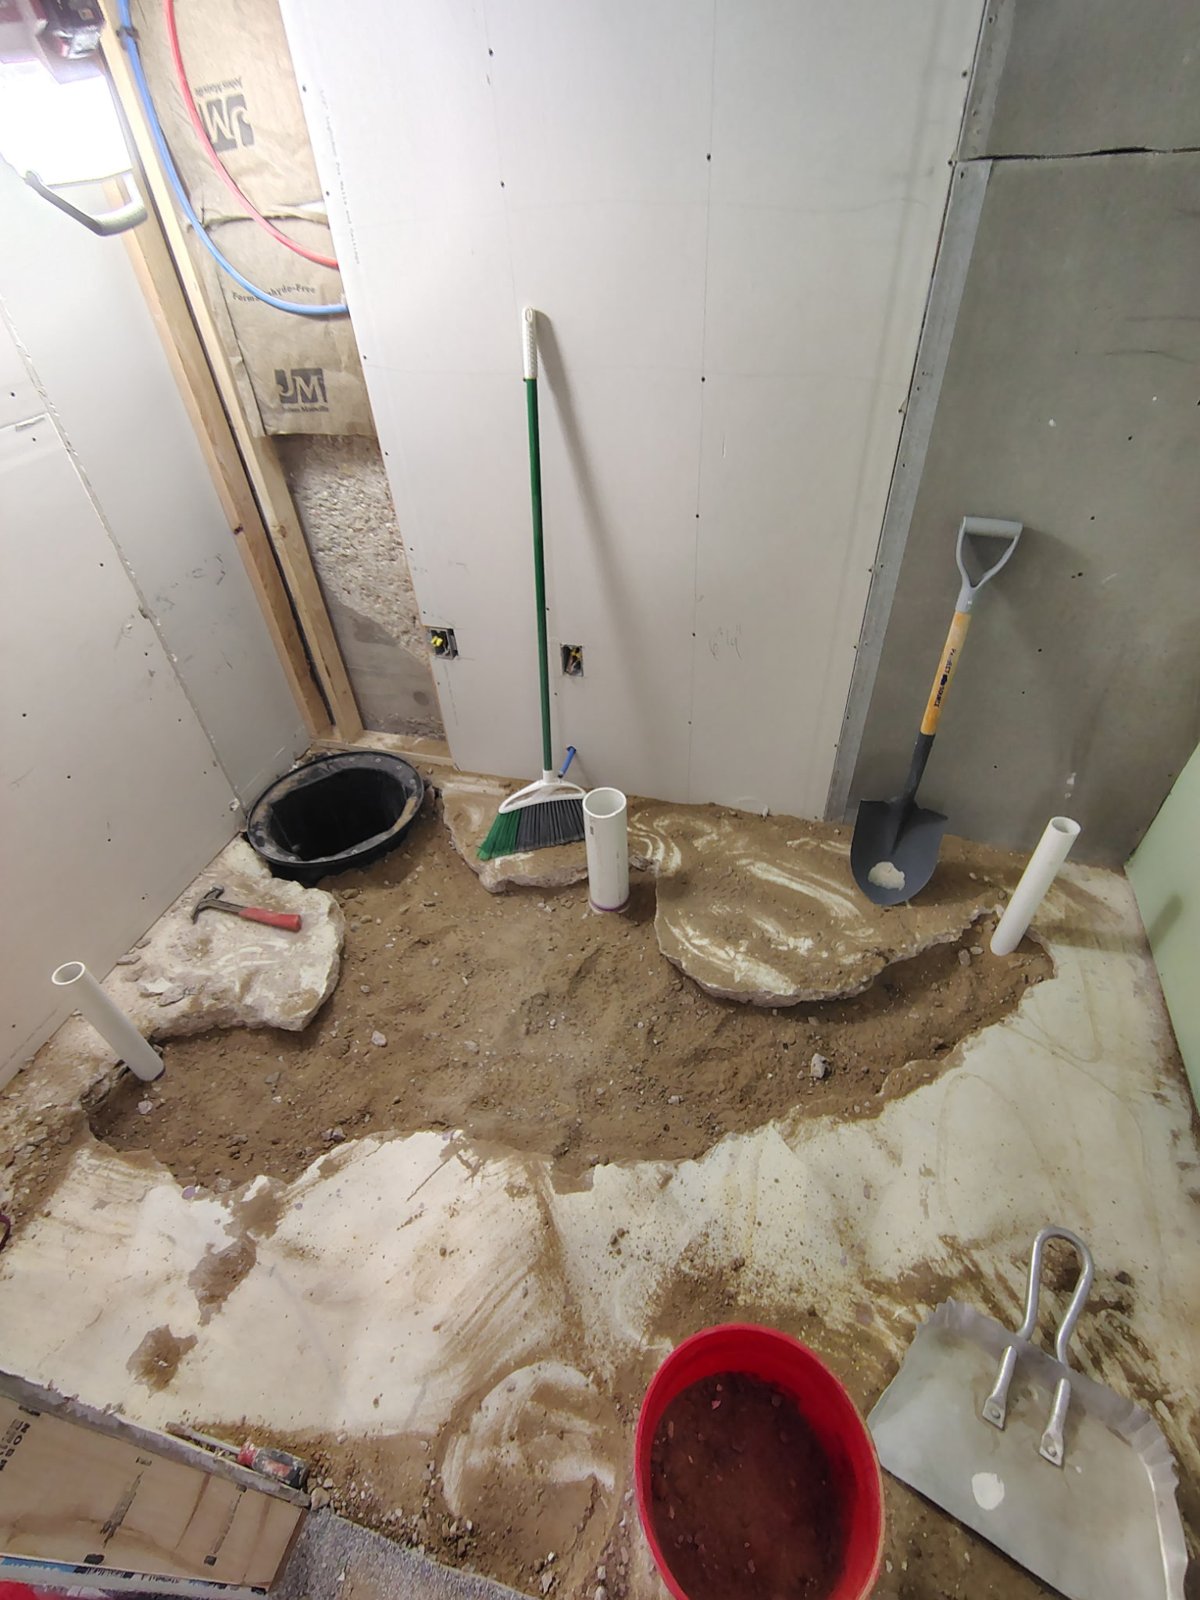
Removing an old shower exposes conditions that the finished surface cannot show. The backing, framing and floor need assessment before they become the base for new materials. Soft or damaged areas need an appropriate repair, and the source of moisture needs attention. New tile should not conceal an unresolved leak.
Plumbing decisions also belong before the walls close. Valve position, showerhead height and the drain connection affect the finished layout. Moving those connections can involve work outside the shower itself, especially when access is limited beneath the floor. The plan should account for that access and the surfaces that need restoration afterward.
Permit requirements depend on the work and the property's jurisdiction. Denver's residential remodel guidance identifies new or relocated plumbing fixtures and floor-plan changes as permit triggers, while describing exemptions for some like-for-like replacements. A shower rebuild should be assessed by its actual scope. Rules in surrounding municipalities should be checked separately.
Once repairs and rough work are ready, the installation needs a suitable, stable backing and a waterproofing assembly compatible with the base and drain. Tile and grout alone are not the water protection. Connections at corners, penetrations and the drain need the details required by the chosen system, rather than a mix of unrelated products assumed to work together.
Before tile installation, the base and waterproofing in a custom tile shower need the testing specified for the chosen system and any required inspection approval. The schedule must allow for the prescribed curing period before testing. Finding and correcting a leak at this stage avoids opening newly finished tile to reach the same connection.
04 / YOUR BATHROOM PROJECT
A niche is a small feature with several decisions packed into it. Its location must work with the wall framing and any services inside the wall. Its finished opening also needs to accommodate the tile thickness and edge treatment. Setting that opening without considering the tile can leave narrow cuts around a feature that is directly in view.
The layout should establish how the wall pattern meets the niche, how its interior is finished and where the visible edges will fall. Mixing materials adds another consideration because their thicknesses may differ. Planning those transitions helps avoid a trim piece sitting noticeably proud of the surrounding surface.
Benches and shelves need the same attention to water management as the rest of the shower. Their support, waterproofing and drainage details should follow the selected assembly. A broad horizontal surface is useful for sitting or storage, but it should not become a place where water remains after use.
These features are worth choosing for a clear purpose. One well-positioned shelf can serve the room better than several recesses that interrupt the pattern. The result should feel considered both when the shower is empty and when it holds everyday supplies.
05 / YOUR BATHROOM PROJECT
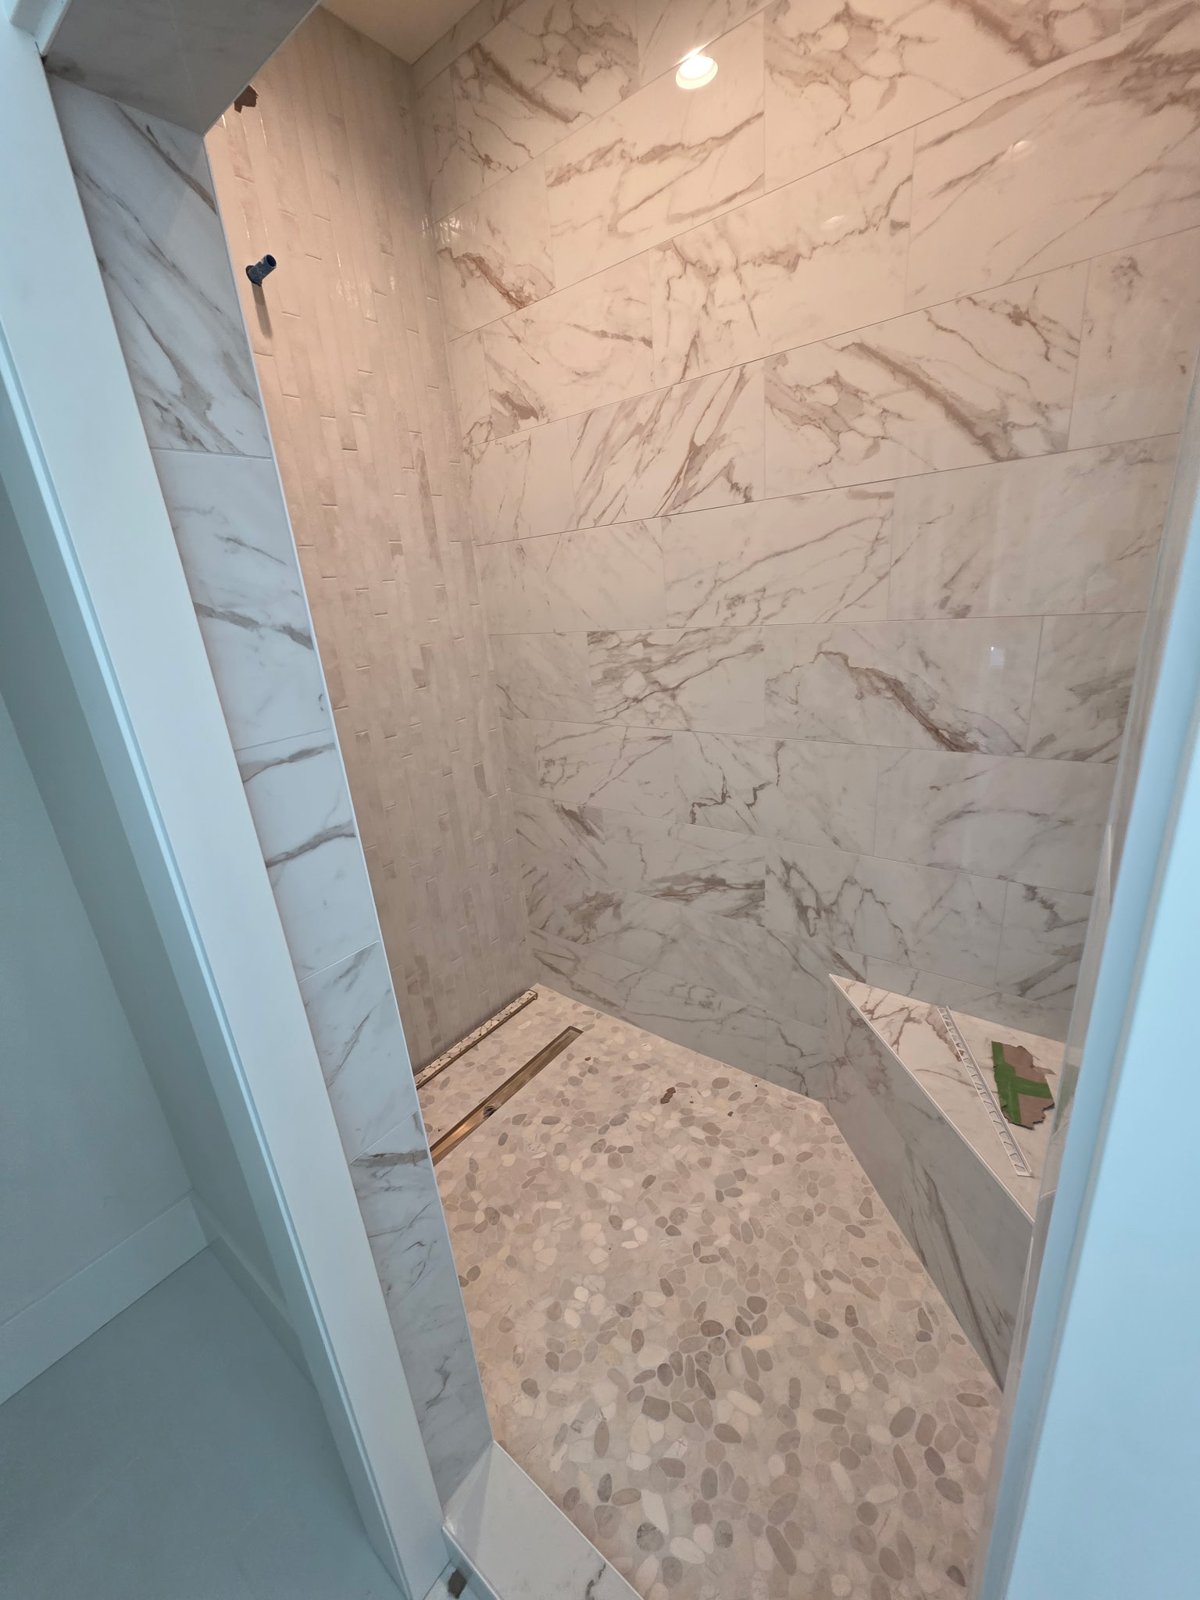
Tile setting begins with a layout, not the first convenient corner. The installer needs to consider the visible wall, the entrance, fixture openings and the size of the remaining cuts. That planning is especially noticeable with large tiles or patterns that continue around a corner.
The setting materials, grout and joint treatments need to suit the tile and its backing. Required curing periods are part of the installation sequence. A surface that looks finished is not necessarily ready for water or the next trade. Product instructions and the actual conditions determine when work can proceed.
A custom tile shower also needs coordination with the enclosure. Final glass measurements should reflect the completed opening and finished surfaces. Hardware positions need appropriate support, and any penetrations require the specified sealing details. Choosing the enclosure early gives the tile work a clear opening and hardware plan to follow.
The final review should cover more than the pattern. Water should drain as intended, fixtures should operate properly, and doors should move without interference. Visible joints, trim and transitions should be checked along with the adjoining bathroom surfaces. Outstanding corrections belong in that review before the room is treated as complete.
06 / YOUR BATHROOM PROJECT
The price reflects the shower being built, including the work that disappears behind the tile. Keeping a usable footprint and plumbing arrangement is a different scope from enlarging the shower or moving its drain. Existing damage can add repair work that a surface-only estimate would miss.
Several choices affect the amount and complexity of installation.
Tile's purchase price is only one part of that work. A detailed pattern can require more layout and cutting than a simpler arrangement using a similarly priced material. Glass and plumbing selections also deserve attention when comparing the overall design.
The useful starting point for an estimate is the existing shower and the intended result. Contact Denver Basement Finishing Pros to discuss the space, the features that matter and the work involved in changing it.
TILE SHOWER PLANNING
Review the completed shower07 / YOUR BATHROOM PROJECT
The care routine should suit the actual materials installed. Ceramic, porcelain, natural stone, grout and metal finishes may have different cleaning requirements. A cleaner suitable for one surface can damage another, so the handover information should identify the products and their care instructions.
Routine cleaning removes soap residue before it becomes harder to shift. Rinsing away cleaner and using the bathroom's ventilation help the room dry after bathing. Drain access should remain available for normal cleaning rather than being hidden behind an inaccessible detail.
A custom tile shower also benefits from occasional inspection. An opening joint, loose tile or recurring damp patch deserves assessment rather than repeated cosmetic covering. Sealer, where the selected material requires it, is a maintenance treatment. It does not replace the waterproofing assembly or repair a leak underneath the tile.
BEFORE YOUR PROJECT BEGINS
Sometimes, but the floor product must be suitable for wet shower use. A matching collection can include different surfaces or sizes intended for different applications. The floor layout must also accommodate drainage. Selecting a coordinated smaller floor tile can preserve the overall look without forcing a large wall tile into an unsuitable location.
It may be possible, but opening the wall affects more than the visible tile. The framing, concealed services and existing waterproofing need assessment. A niche requires a sound connection to the surrounding assembly. It is often easier to coordinate during a shower rebuild, when the backing and tile layout are already being planned together.
New grout can address a deteriorated surface joint, but it does not establish why water is escaping. A leak may involve plumbing, the drain or the waterproofing beneath the tile. The source needs diagnosis before choosing the repair. Covering a visible symptom can leave the underlying problem in place.
That depends on removal, repairs, plumbing work, tile installation and any enclosure fabrication. Material curing and required inspections also affect the sequence. The project schedule should distinguish active work from those waiting periods. A replacement shower should return to use only after the installation is ready, rather than as soon as its tile looks complete.
A lower entry depends on the floor structure, drain arrangement, waterproofing and water containment. It is a design decision to investigate early, not simply a smaller curb added at the end. An assessment can establish the options for the room and whether changing the floor construction is needed.
Possibly. The appropriate cleaner depends on the tile, grout, glass and fixture finishes chosen. Follow the manufacturers' guidance and avoid assuming a product used on the old shower suits the new materials. Keep the care information with the product details so routine cleaning and any future maintenance can follow the installed specifications.
LET’S TALK ABOUT YOUR HOME
Tell us what you have in mind. We’ll discuss your goals and arrange a walkthrough to understand the work involved.