
Existing bathroom
Removal, drain access and necessary repairs establish the starting work.
WALK-IN SHOWER INSTALLATION IN DENVER, CO
A walk-in shower can give a bathroom a more comfortable washing space with an entrance that leaves room to move between bathroom fixtures. The entrance, controls and enclosure matter as much as the tile. Talk with Denver Basement Finishing Pros about walk-in shower installation, including replacing an existing shower or planning a tub-to-shower conversion within your bathroom remodel.
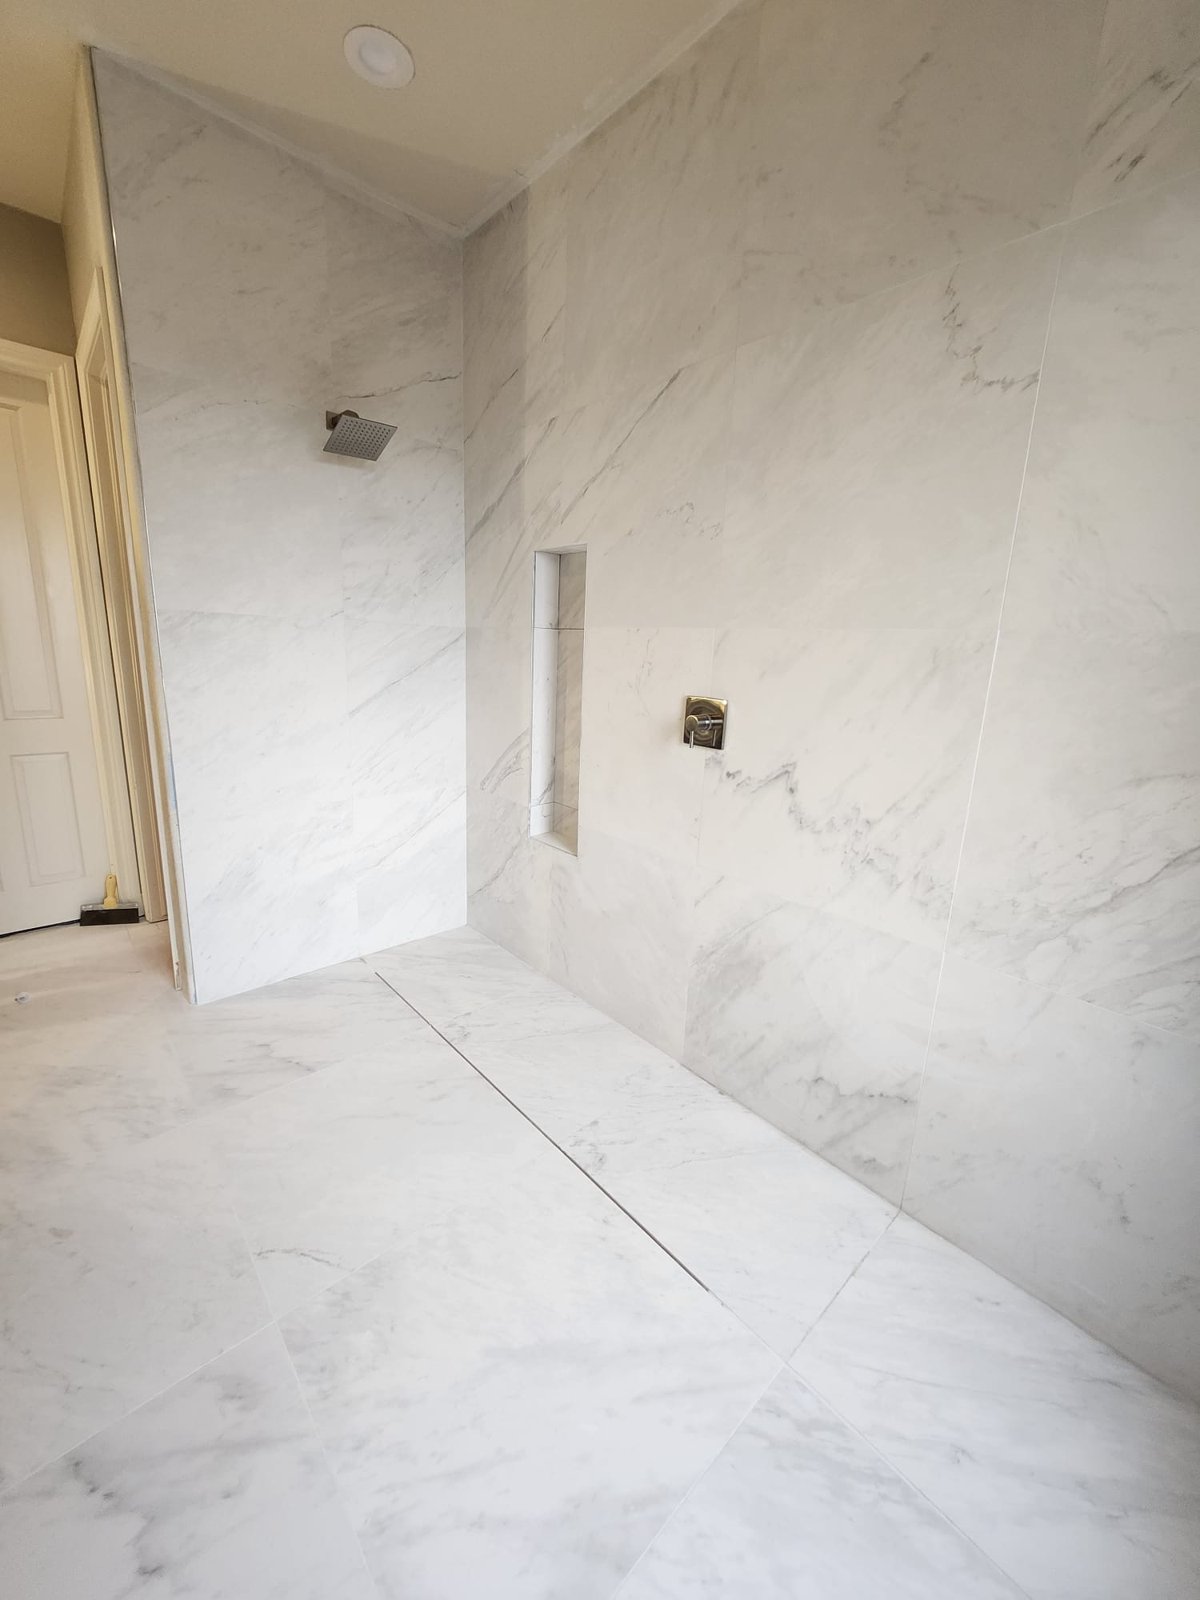
PLANNING YOUR INVESTMENT
The existing space and the work involved shape the estimate. Discuss your goals with us during a property walkthrough.
Removal, drain access and necessary repairs establish the starting work.
Base, waterproofing, entrance and wall finishes shape installation.
Controls, glass and surrounding details complete the shower.
Request a project-specific estimate for your home and planned improvements.
Request an estimate01 / YOUR BATHROOM PROJECT
Walk-in does not automatically mean curbless. A shower can have a low threshold, a raised curb or a level entry, and it can use a door or an open entrance. Those are separate design choices. Removing the step alone does not establish that a shower meets someone's mobility needs or a particular accessibility standard.
Start with the space needed to enter, turn and use the controls. A hinged glass door needs clearance outside the shower. A sliding door uses the opening differently, while an open entry needs a layout that manages splash. The showerhead's direction and the position of the entrance should be considered together, rather than choosing the glass after everything else is fixed.
Storage and seating take room from the usable floor area. A bench can be helpful, but its position should leave enough space to wash comfortably. Recessed storage depends on the wall construction and needs to be planned before the wall is closed. Controls should be placed for the intended users, including how they will reach them when starting the water.
WALK-IN SHOWER PLANNING
Plan the shower around everyday use02 / YOUR BATHROOM PROJECT
Planning walk-in shower installation starts with the existing footprint and the construction beneath it. Drain location, floor structure and access below affect what can be built. A level-entry design may need changes to floor levels or support. Those changes need assessment before demolition, rather than assuming a new drain and tile will fit into the existing depth.
Removing an old enclosure can reveal water damage or earlier repairs behind the surface. Soft material, staining or a loose base needs investigation so the cause can be addressed before new finishes cover it. A new shower should have suitable support for the chosen base, wall system and enclosure. Existing material should not be retained simply because it will be hidden.
Walk-in shower installation can involve plumbing, electrical or structural changes. Denver's residential interior remodeling guidance covers new or relocated fixtures, altered layouts and other work requiring permits. The applicable approvals and inspections depend on the actual scope. A neighboring municipality may have a different process, so the property's jurisdiction matters.
Plan bathroom access during construction as well. The shower is unavailable through removal and rebuilding, and some stages require curing or inspection before the next step. Establish which other fixtures can remain in use and how materials will travel through the home. This makes the disruption easier to plan around.
03 / YOUR BATHROOM PROJECT
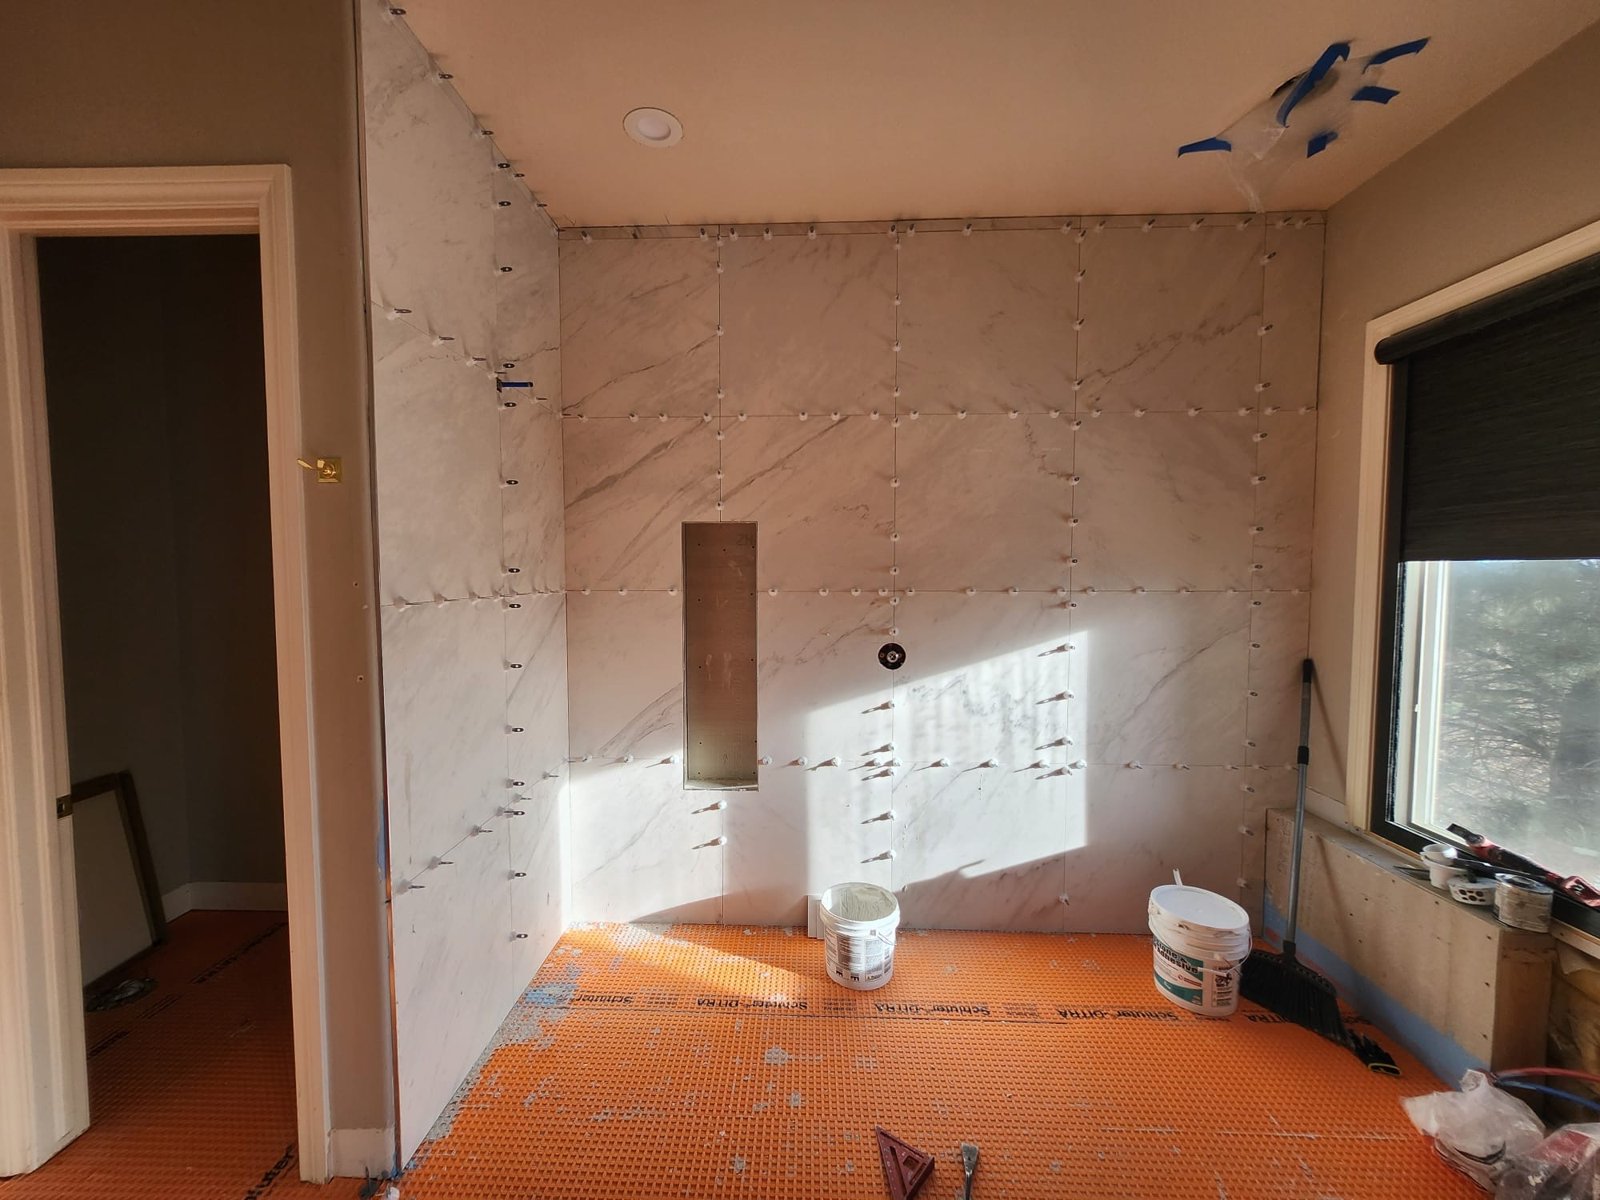
Tile is the visible finish, but tile and grout alone do not form a waterproof shower. The assembly beneath them needs a coordinated way to direct water to the drain and protect adjoining construction. Corners, the entrance and fixture openings are part of that assembly, not details to address after the tile is finished.
The base and drain must work together. A prefabricated tray, a site-built base and different drain types have their own installation requirements. The floor needs the appropriate fall toward the outlet, with the selected finish suited to that shape. An attractive drain cover cannot compensate for a base that holds water in the wrong places.
Curbless layouts also need attention beyond the shower entrance because the wet and dry areas are less clearly separated. Waterproofing coverage and the transition into the rest of the room should be designed for expected exposure. Lowering the threshold without considering surrounding surfaces can leave water reaching areas that were never prepared for it.
The selected system determines how joints, penetrations and connections are completed and tested. A water test checks for leaks before tile conceals the assembly, allowing a problem to be corrected while it is still accessible. Test timing, curing and inspection requirements should follow the product instructions and applicable local requirements.
04 / YOUR BATHROOM PROJECT
Wall tile and floor tile serve different purposes. A surface suitable for the wall may not be recommended for a shower floor. Review the product's stated use, wet-area suitability and care requirements before choosing it for underfoot use. A slip-resistance description does not guarantee that a wet floor cannot become slippery.
Tile size also needs to work with the base. Changes in slope and the drain position can affect the layout and cuts. Smaller pieces and larger formats create different joint patterns, so look at the proposed floor arrangement rather than choosing from a wall display alone. The goal is a finish that suits the drainage design and is practical to maintain.
Walk-in shower installation is also an opportunity to make the fixtures easier to use. A handheld shower, accessible controls or a seat may suit the household, but each choice affects positioning and support. Grab bars require an appropriate mounting arrangement for the selected product. A towel rail or ordinary shower slide bar should not be assumed to provide the same support.
Choose niches, trim and exposed edges together with the tile. These details can otherwise produce narrow cuts or awkward changes in pattern around an opening. Planning them before installation gives the tile layout a clear starting point and keeps the useful features from looking added as an afterthought.
05 / YOUR BATHROOM PROJECT
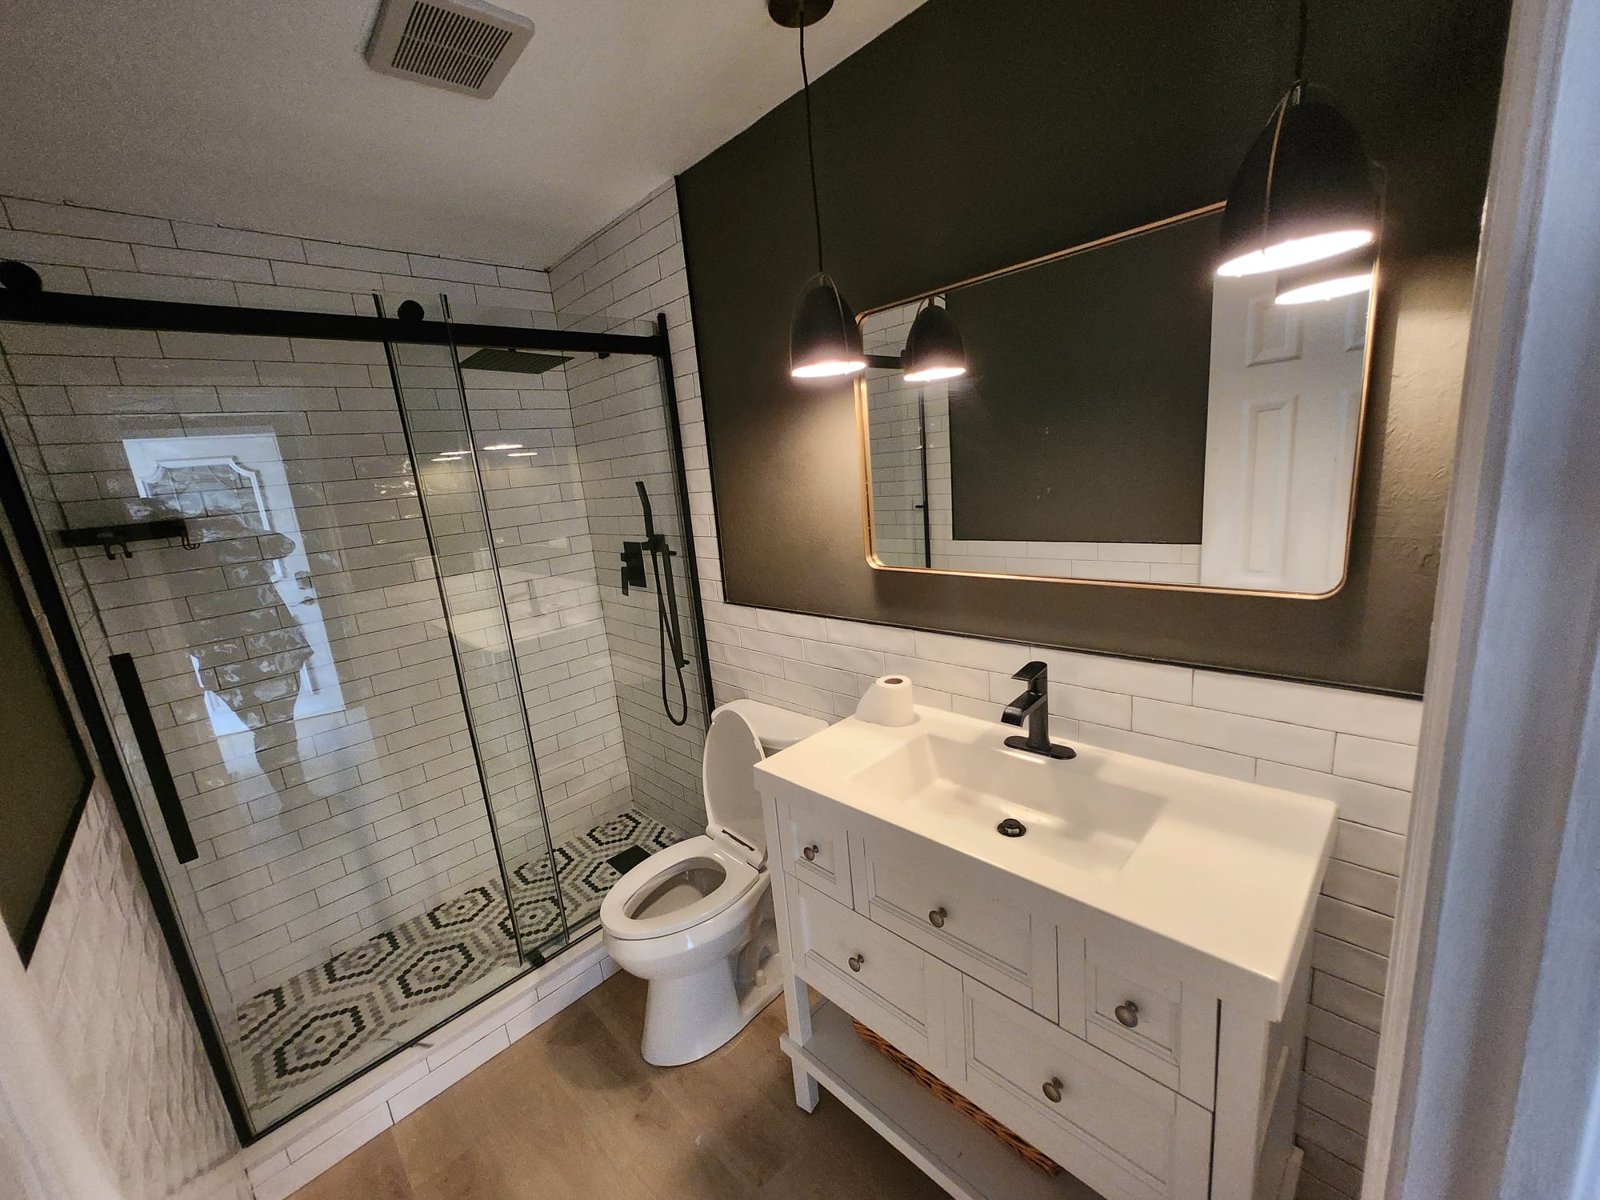
Glass needs to fit the opening that was actually built. Finished wall alignment, curb shape and the intended door movement all affect that fit. Custom glass commonly involves a measurement stage after the relevant surfaces are complete, so enclosure fabrication can be a separate part of the schedule from tile installation.
The enclosure also needs appropriate support and attachment. Fixings that pass through a tiled surface must be coordinated with the waterproofing beneath it. A visible bead of sealant does not, by itself, explain how a penetration was detailed. The mounting method should suit both the enclosure instructions and the shower assembly rather than being improvised at installation.
Open showers need the same attention to water behavior. The available depth, spray direction and entrance position influence how much water can reach the bathroom floor. A larger opening is not automatically an improvement in a compact room. Discuss the actual layout and expected use before committing to a doorless design.
The bathroom remodeling plan should coordinate the shower with the vanity, lighting and circulation outside it. Glass can make the room feel more open, but the clearances and water-control details still need to work when the shower is in use.
06 / YOUR BATHROOM PROJECT
The finished size is only one part of the price. Removing an old tub, accessing drainage, repairing concealed damage and changing the entrance can involve different amounts of work. The selected base, wall finish, fixtures and enclosure then shape the installation that follows.
A useful estimate identifies the work included in the shower project.
Walk-in shower installation involves stages that cannot all happen on the same day. Preparation comes before waterproofing, waterproofing is tested before tile conceals it, and glass may require a later measurement and fabrication stage. Product delivery, curing and required inspections can also affect the sequence. A timetable should reflect those dependencies rather than count only the days someone is setting tile.
Discuss the entrance style and selected finishes during a project estimate. Those decisions help define the work without assuming every walk-in shower needs structural alterations or a complete bathroom rebuild.
WALK-IN SHOWER PLANNING
Coordinate the shower construction07 / YOUR BATHROOM PROJECT
Before everyday use, review how the shower operates. Controls should function as intended, water should drain appropriately and the enclosure should move without striking adjoining fixtures. Check the entry and nearby floor during use, not only the appearance of dry tile. Any concern about recurring water outside the shower deserves investigation.
Keep the care instructions for the enclosure, fixtures and selected surfaces. Cleaning products suitable for one material may be unsuitable for another. Observe any required curing period before using the shower, and maintain joints according to the products installed. Surface cleaning is important, but it does not replace correcting a leak or failed connection.
Make drain maintenance accessible and avoid allowing hair or debris to accumulate. Use the bathroom's ventilation to help remove moisture after bathing. A persistent damp area, loose fixture or changing joint should be assessed rather than repeatedly covered with additional sealant. The right repair depends on where the water is coming from.
BEFORE YOUR PROJECT BEGINS
No. Walk-in showers can have a curb, a low threshold or a level entrance. A curbless design needs the floor levels, drainage and surrounding waterproofing considered together. It is also separate from an accessibility assessment. Choose the entrance for the room and its users rather than relying on the name alone.
Often, but the available footprint and existing plumbing need review. The drain position, floor construction and planned enclosure can change the work involved. Removing the tub may also expose damage or unfinished surfaces. A conversion should be assessed as a complete shower installation, not simply a new finish over the old footprint.
That depends on the layout and water exposure. Shower depth, spray direction and the entrance position affect splash beyond the wet area. A fixed panel may help contain water while leaving an opening, but it still needs a suitable arrangement. A doorless layout should be reviewed in the actual room before construction.
Testing at that stage can reveal a leak while the assembly is accessible. Once tile is installed, reaching a failed connection can require removing finished work. The test procedure and timing depend on the selected system and local requirements.
Yes, their locations and mounting requirements can be planned with the shower. Appropriate support needs to match the selected product and intended use. Discussing those needs before the wall finish is installed can avoid opening completed surfaces later. Do not assume decorative accessories or an ordinary slide bar are designed as supports.
Only after the source of the leak is understood. Water can escape at an enclosure detail, a plumbing connection or a concealed part of the shower assembly. More surface sealant may not reach the cause. Recurring moisture outside the shower or damage nearby calls for assessment before deciding what needs repair.
LET’S TALK ABOUT YOUR HOME
Tell us what you have in mind. We’ll discuss your goals and arrange a walkthrough to understand the work involved.