
Surface preparation
Removal, repairs and backing determine the work beneath the tile.
BATHROOM TILE INSTALLATION IN DENVER, CO
Bathroom tile changes the surfaces you see and use every day, from the floor under your feet to the walls around a tub or shower. A good result brings the pattern, edges and fixtures together without overlooking what supports them. Talk with Denver Basement Finishing Pros about bathroom tile installation for your floor, walls or a larger bathroom renovation.
PLANNING YOUR INVESTMENT
The existing space and the work involved shape the estimate. Discuss your goals with us during a property walkthrough.
Removal, repairs and backing determine the work beneath the tile.
Material, pattern, cuts and exposed edges influence installation.
Wet-area work, transitions and fixture connections complete the scope.
Request a project-specific estimate for your home and planned improvements.
Request an estimate01 / YOUR BATHROOM PROJECT
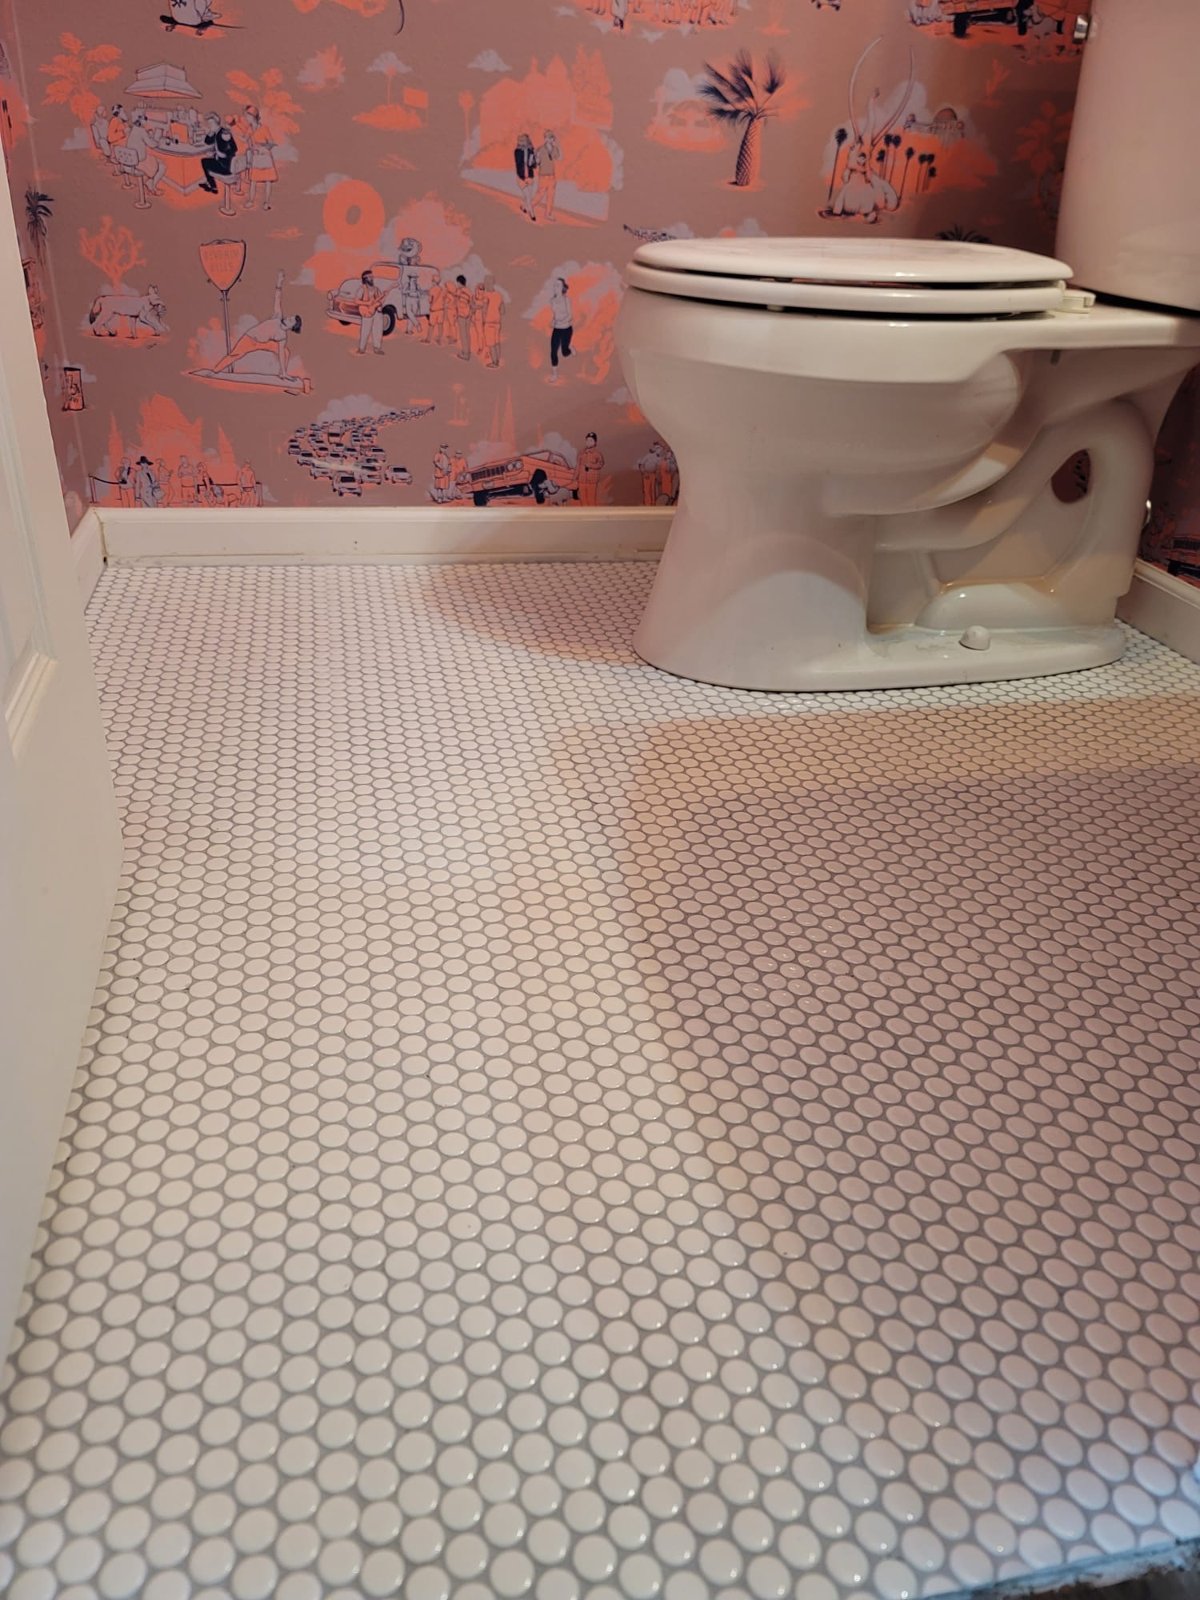
A tile sample can look right beside the vanity and still be the wrong choice for the shower floor. Start with where each product will go. Floor tile must suit foot traffic and the expected conditions, while shower floors need products specifically suitable for that wet application. A wall-only tile should not be moved onto the floor simply because the color matches.
The size and finish change the room's appearance as well as its installation. Larger pieces create fewer visible joints, while small mosaics introduce more pattern and grout lines. A textured surface feels different from a polished one and can require a different cleaning routine. Compare actual samples with the cabinet finish, countertop and lighting rather than judging each choice separately.
Grout color deserves the same attention. A contrasting joint makes the pattern more noticeable. A closer color match puts more emphasis on the tile itself. The chosen joint width also needs to suit the tile and installation requirements, rather than being squeezed down to imitate a seamless surface.
These decisions establish a coherent bathroom tile installation before materials arrive. They also make it easier to identify details that need a separate product, such as a shower floor, niche shelf or doorway transition.
BATHROOM TILE PLANNING
Coordinate bathroom tile selections02 / YOUR BATHROOM PROJECT
The existing finish is only part of the assessment. Loose tiles, damaged backing and movement underfoot need investigation before another layer goes on top. New tile cannot make a weak floor structure sound or stop an active plumbing leak. Preparation starts by identifying what can remain, what needs removal and whether repairs belong in the project.
Removing the old material exposes the surface the new assembly will depend on. That surface needs to meet the selected installation system's requirements for stability, cleanliness and flatness. Patching an isolated low spot is different from correcting a floor that flexes. The remedy should address the actual condition, not hide it beneath extra mortar.
Finished height matters at the doorway and around fixtures. Tile, mortar and any added underlayment raise the surface together. That buildup can change how a door swings, how the bathroom meets the hall and how the toilet connects to its drain. Looking at those relationships before setting tile prevents an otherwise finished room from being held up by an overlooked connection.
Plan access through the home and the availability of the bathroom during removal. Fixtures may need to be disconnected, stored or replaced. Plumbing, electrical or structural changes require their own review. Denver's residential remodeling guidance explains the city's permit process. A project in another municipality needs that jurisdiction's requirements checked.
03 / YOUR BATHROOM PROJECT
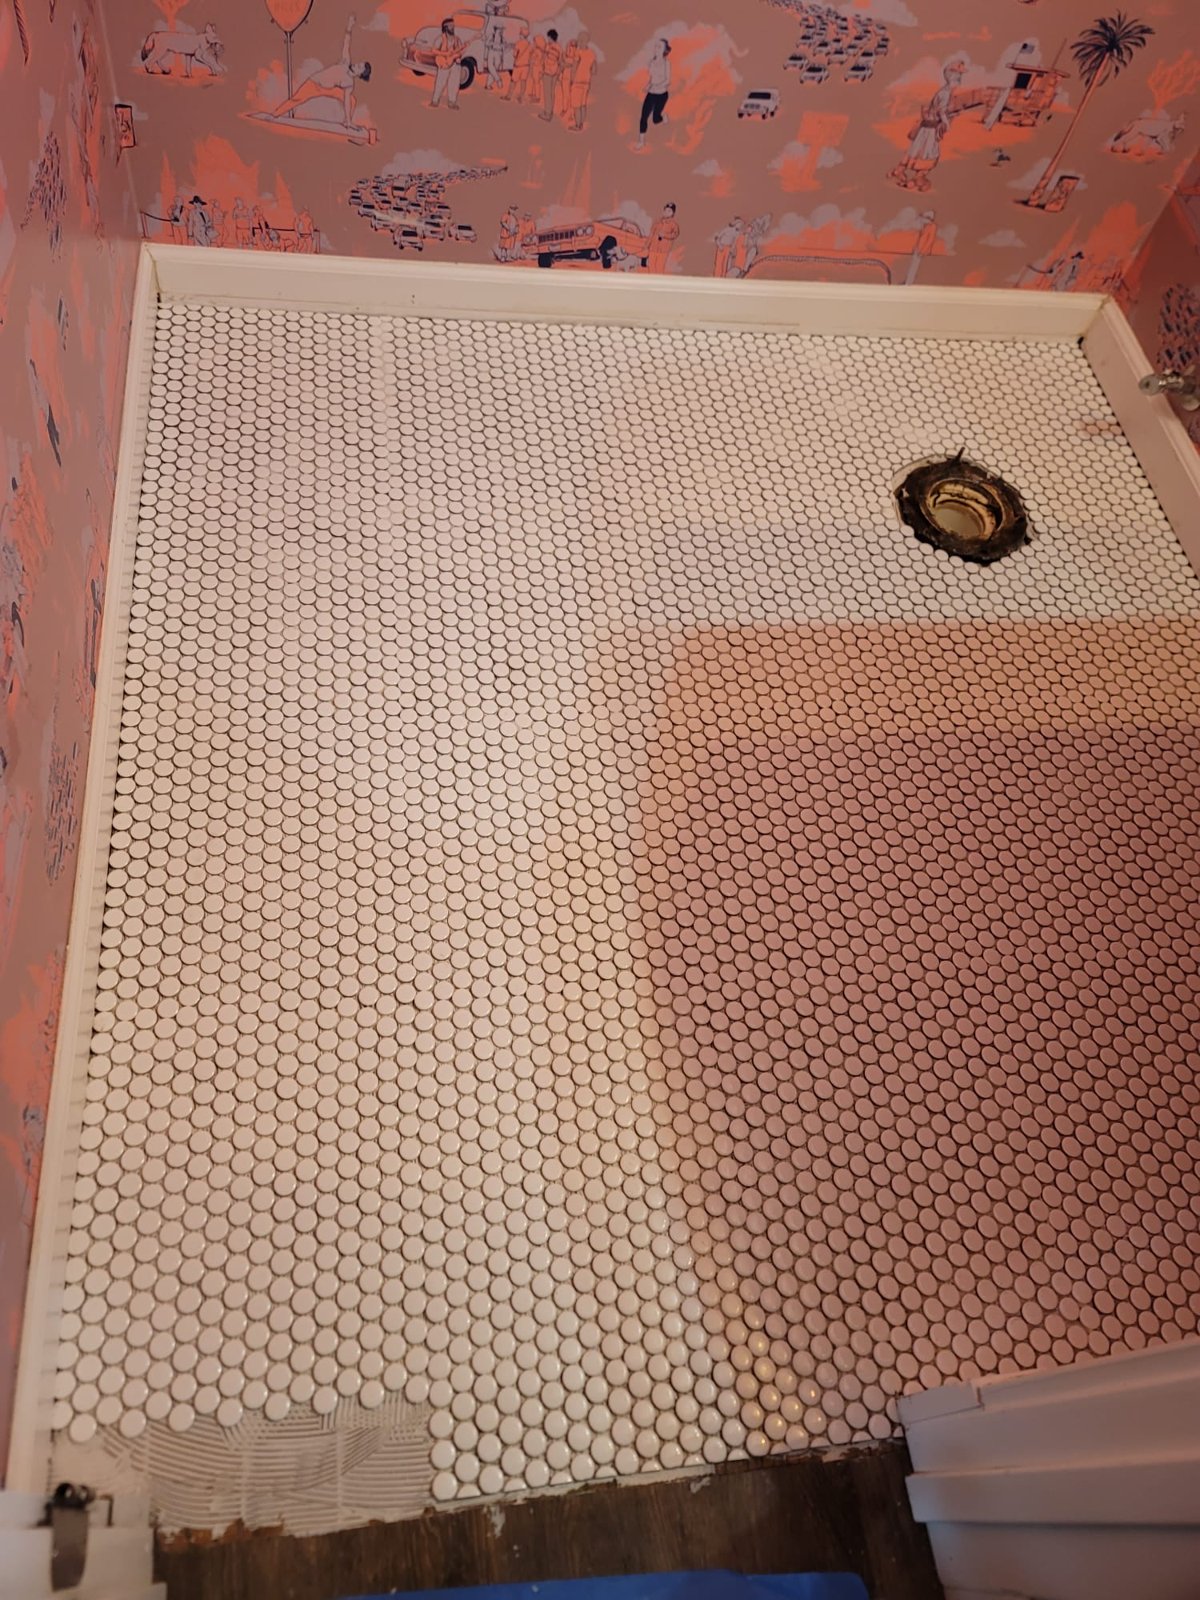
Layout is where a collection of materials starts to look like one room. The tile lines need to be considered from the doorway, alongside the vanity and around the tub or shower. Starting with a full tile in one corner can leave an awkward narrow cut in a prominent place. A planned starting point lets those cuts be compared before anything is bonded down.
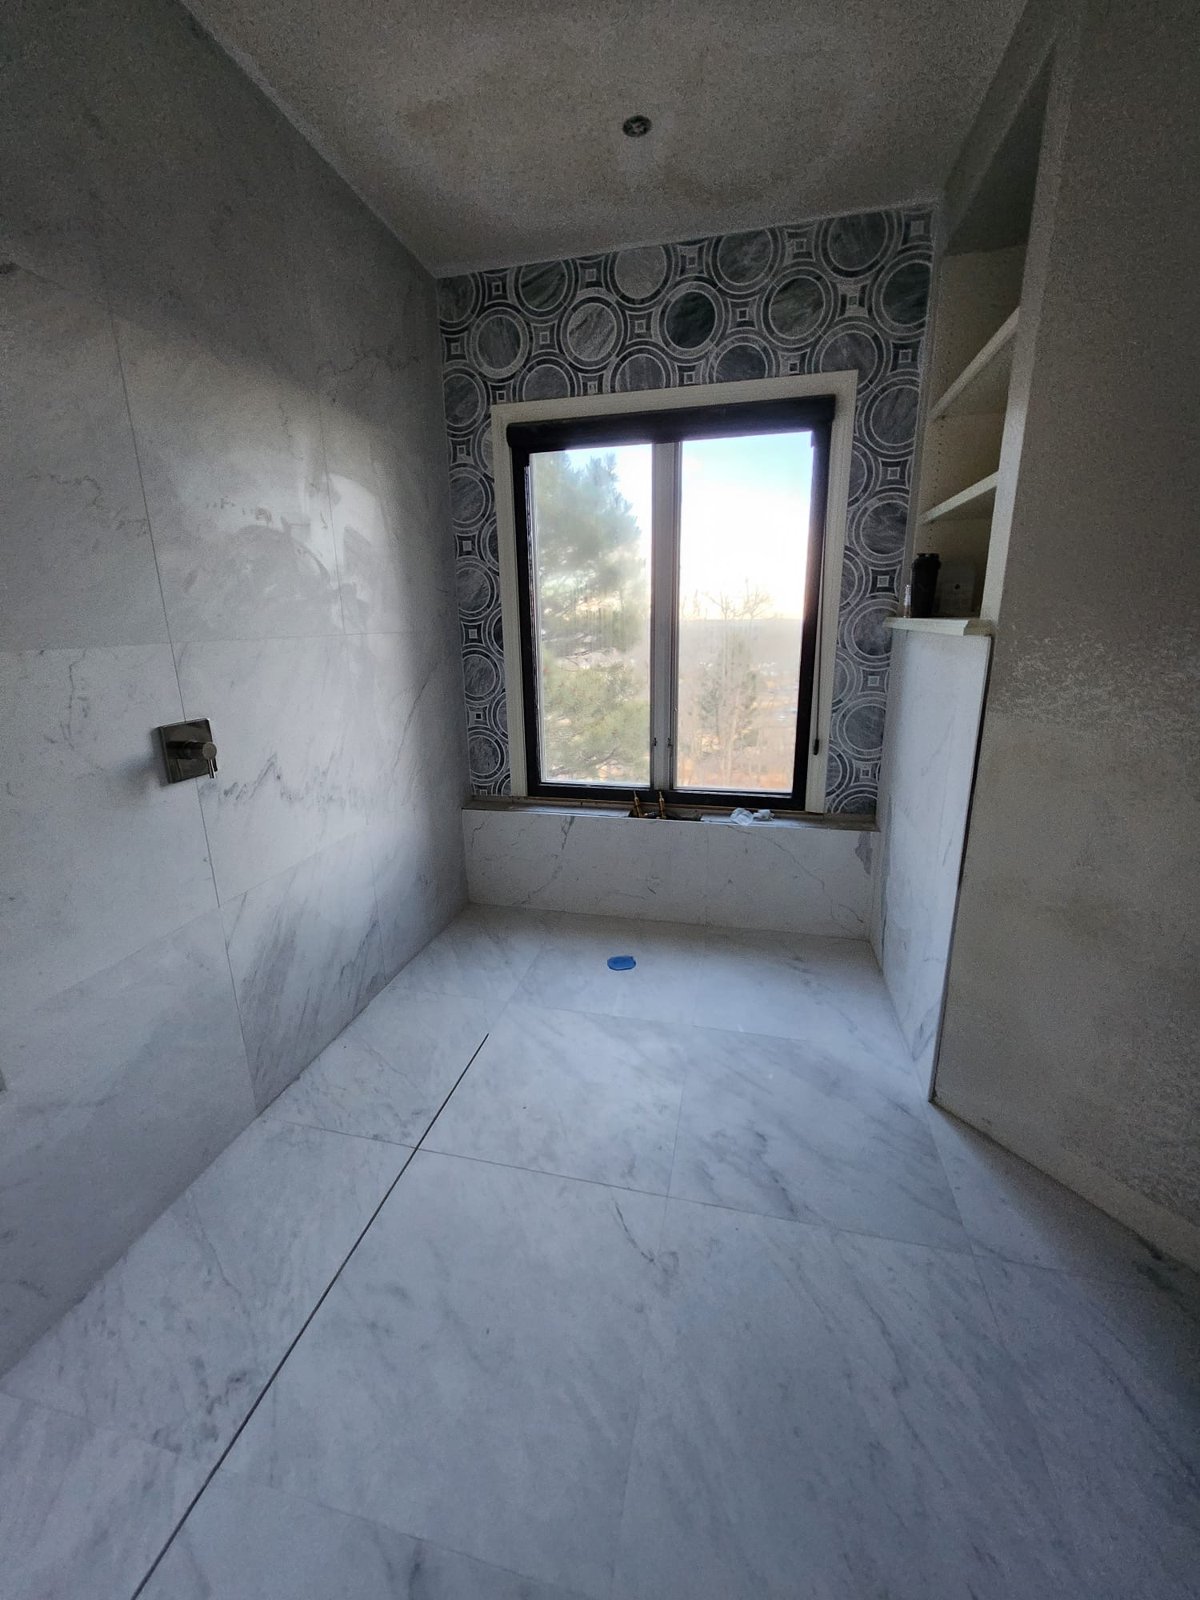
Wall patterns also need to meet real objects. A niche, window, valve or shelf can interrupt the pattern, and the visible edges need a deliberate finish. Matching trim, a suitable profile or a properly detailed tile edge can complete that boundary. These are choices to resolve with the layout, not after the last full tile has been placed.
At the floor, the transition to the next room needs to account for both materials and their heights. Considering the hall at this stage helps avoid an abrupt edge at the bathroom entrance. Tile layout and transition planning are therefore connected, even when the adjoining flooring stays in place.
Large pieces make the surface preparation especially important. They span more of the backing, so unevenness can become apparent across neighboring edges. Leveling clips can help position tiles during setting, but they do not replace a properly prepared surface or the required mortar support beneath the tile.
04 / YOUR BATHROOM PROJECT
Tile is the visible finish of a shower, not its entire water-management system. The construction underneath needs to protect the surrounding building and direct water toward the drain. Grout or a coat of sealer is not a substitute for that assembly.
Corners, fixture openings, niches and the entrance need details compatible with the selected system. A tiled shelf also needs a way for water to leave its surface rather than sit against a joint. Those connections should be planned while the backing and plumbing are accessible. Once decorative tile covers them, repairs become more disruptive.
The main bathroom floor and a shower floor do not automatically receive identical treatment. Their exposure and drainage are different. A curbless shower connects the two more directly, so the entrance and surrounding surfaces need particular attention. That choice should be considered as part of the shower design rather than a cosmetic change to the tile pattern.
Required inspections and appropriate waterproofing tests belong before the work they need to examine is concealed. The timing and method depend on the products and local requirements. For bathroom tile installation involving a shower rebuild, this preparation is part of creating a usable bathing space, not an optional finishing detail.
05 / YOUR BATHROOM PROJECT
Setting begins after the supporting surfaces and relevant concealed work are ready. Mortar needs to suit the tile, backing and location. The installer checks contact beneath the tile as work progresses, because a neat-looking joint does not reveal whether the piece is properly supported.
Movement accommodation is another detail that can disappear into the finished appearance. Tile assemblies need appropriate joints at their boundaries and other required locations. Filling every gap with rigid grout can restrict movement that the assembly needs to accommodate. An underlayment does not remove the need for those joints.
Around the toilet, the finished tile height must be coordinated with the flange and seal. The toilet also needs secure support when it is reset. A flange left below a newly raised floor deserves assessment rather than an improvised fix after the bathroom is complete. Reconnected plumbing should be checked for leaks before the room returns to normal use.
Vanity installation, shower glass and accessories bring further attachment points. Their positions need to work with the finished tile and the support behind it. Keeping those requirements in view during bathroom tile installation helps avoid unnecessary drilling, damaged edges or fixtures that cannot be secured where intended.
06 / YOUR BATHROOM PROJECT
Square footage helps describe the job, but it does not capture all the work. A simple open floor has different cutting and preparation needs from a shower with niches, returns and several exposed edges. Material cost is one part of the estimate. Removing existing finishes, repairing backing and reconnecting fixtures are separate parts of completing the room.
The estimate brings together several parts of the work.
An estimate should make the included areas and finishes clear. Keeping a tub or vanity can reduce replacement work, but it also creates boundaries the tile needs to meet. Discussing those retained features early helps keep the price and intended result aligned.
Bathroom tile installation involves more than tile-setting days. Preparation, waterproofing where needed, mortar, grout and sealants each have requirements before later work or use. Some stages involve waiting while products cure. Confirm when the floor can be walked on, when fixtures can return and when the shower can get wet. Those can be different milestones, even in a small bathroom.
BATHROOM TILE PLANNING
Plan the bathroom tiling sequence07 / YOUR BATHROOM PROJECT
The final review should include the details you will notice in daily use. Look at exposed edges, transitions, grout appearance and the way tile meets fixtures. Check that doors operate, the toilet is stable and the agreed plumbing connections function without leaks. Remaining touch-ups should be identified before the work is treated as finished.
Care instructions need to match the actual tile, grout and sealants. Some products need sealing, while others have different requirements. Avoid assuming that one cleaner is suitable for every surface in the room. A product that works on ceramic tile may be unsuitable for nearby natural stone or a metal finish.
Keep the product names and a small quantity of matching spare tile when available. That information makes future maintenance and repairs easier. Clean spills and residue using the recommended method, and have recurring cracks, loose pieces or moisture signs assessed rather than repeatedly covering them with fresh grout.
BEFORE YOUR PROJECT BEGINS
Sometimes an approved installation system allows it, but the old surface must first be assessed for soundness, bonding and suitability. Added height also affects doors, transitions and plumbing fixtures. Loose tile, hidden damage or an unsuitable base can make removal the better approach. The decision needs to be made from the existing room and product requirements.
Only when the product is suitable for both applications. A wall tile is not automatically rated for floor use, and a bathroom floor tile is not automatically suitable for a shower floor. Check the manufacturer's intended-use information alongside the shower layout and drainage needs before ordering matching materials.
The new floor assembly can change the height around the toilet flange, which connects the fixture to the drain. That connection and the toilet's support need to suit the finished floor. Coordinating the reset during planning avoids discovering a height or sealing problem after the tile is complete.
No. Larger tiles still need an appropriately prepared base and can make differences between neighboring edges more noticeable. Surface correction comes before setting. Choosing large pieces for fewer grout lines is a design decision, not a way to bypass preparation.
The answer depends on the installed products, conditions and remaining work. Walking on the floor, reinstalling fixtures and exposing a shower to water may have different waiting periods. Follow the project-specific return-to-use instructions rather than assuming the bathroom is ready as soon as the grout looks dry.
No. Sealing may help with the care of certain grout products, but it does not replace the waterproofing assembly behind the tile. Recurring leaks or damp areas need investigation. Adding sealer to the visible joints does not establish that the underlying shower construction is sound.
LET’S TALK ABOUT YOUR HOME
Tell us what you have in mind. We’ll discuss your goals and arrange a walkthrough to understand the work involved.