
Walls, ceilings and access
Surface area, openings and room access define the work.
DRYWALL INSTALLATION IN DENVER, CO
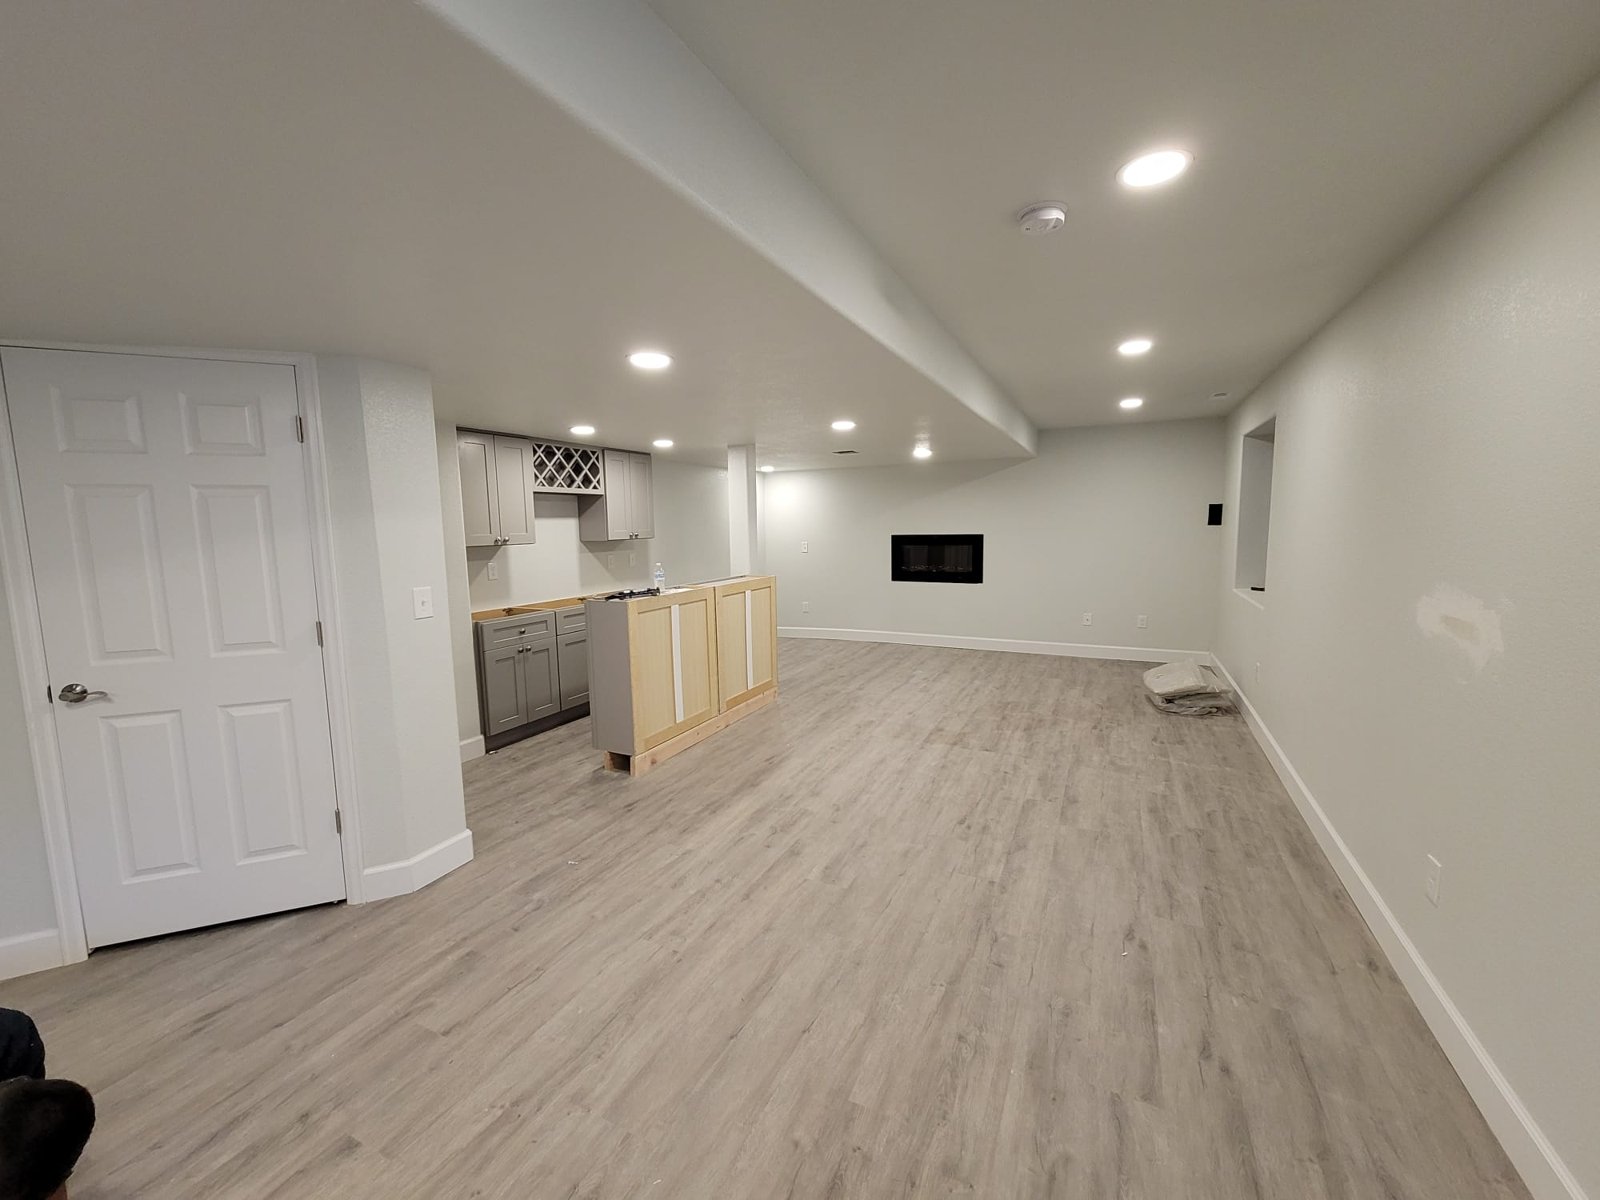
New walls change how a room feels long before the furniture goes back. Clean corners, a consistent ceiling and a finish that belongs beside the existing walls help a renovation feel complete. Drywall installation also closes in the work behind those surfaces. Denver Basement Finishing Pros lists this service among its interior remodeling work, with the wall and ceiling scope shaped around the rooms being renovated.
PLANNING YOUR INVESTMENT
The existing space and the work involved shape the estimate. Discuss your goals with us during a property walkthrough.
Surface area, openings and room access define the work.
Existing conditions and adjoining finishes affect the scope.
Joint finish, texture, primer and paint need clear coverage.
Request a project-specific estimate for your home and planned improvements.
Request an estimate01 / YOUR DRYWALL PROJECT
Start with the surfaces that actually need attention. A new partition needs board on its exposed faces. A plumbing repair may leave a smaller opening in an otherwise sound wall. Removing cabinets can reveal damaged surfaces that were hidden for years. These jobs call for different amounts of preparation, even when they occupy the same room.
The first useful distinction is between replacing board and refinishing what is already there. Sound drywall does not automatically need to come out because its texture looks dated. A localized repair may suit a limited opening, while a broader surface treatment may be needed to change the appearance of an entire wall. Damaged material needs an assessment before either approach is chosen.
Room measurements should include ceiling height, openings, soffits and the edges where new work meets old. Floor area alone leaves out much of the surface being finished. Access matters as well. Carrying full sheets upstairs or through a narrow hallway affects how materials reach the work area and where they can be stored.
That room-by-room scope gives drywall installation a clear purpose. The goal is a connected interior finish, with the work behind the walls resolved before they are closed.
DRYWALL INSTALLATION
Plan the drywall finish02 / YOUR DRYWALL PROJECT
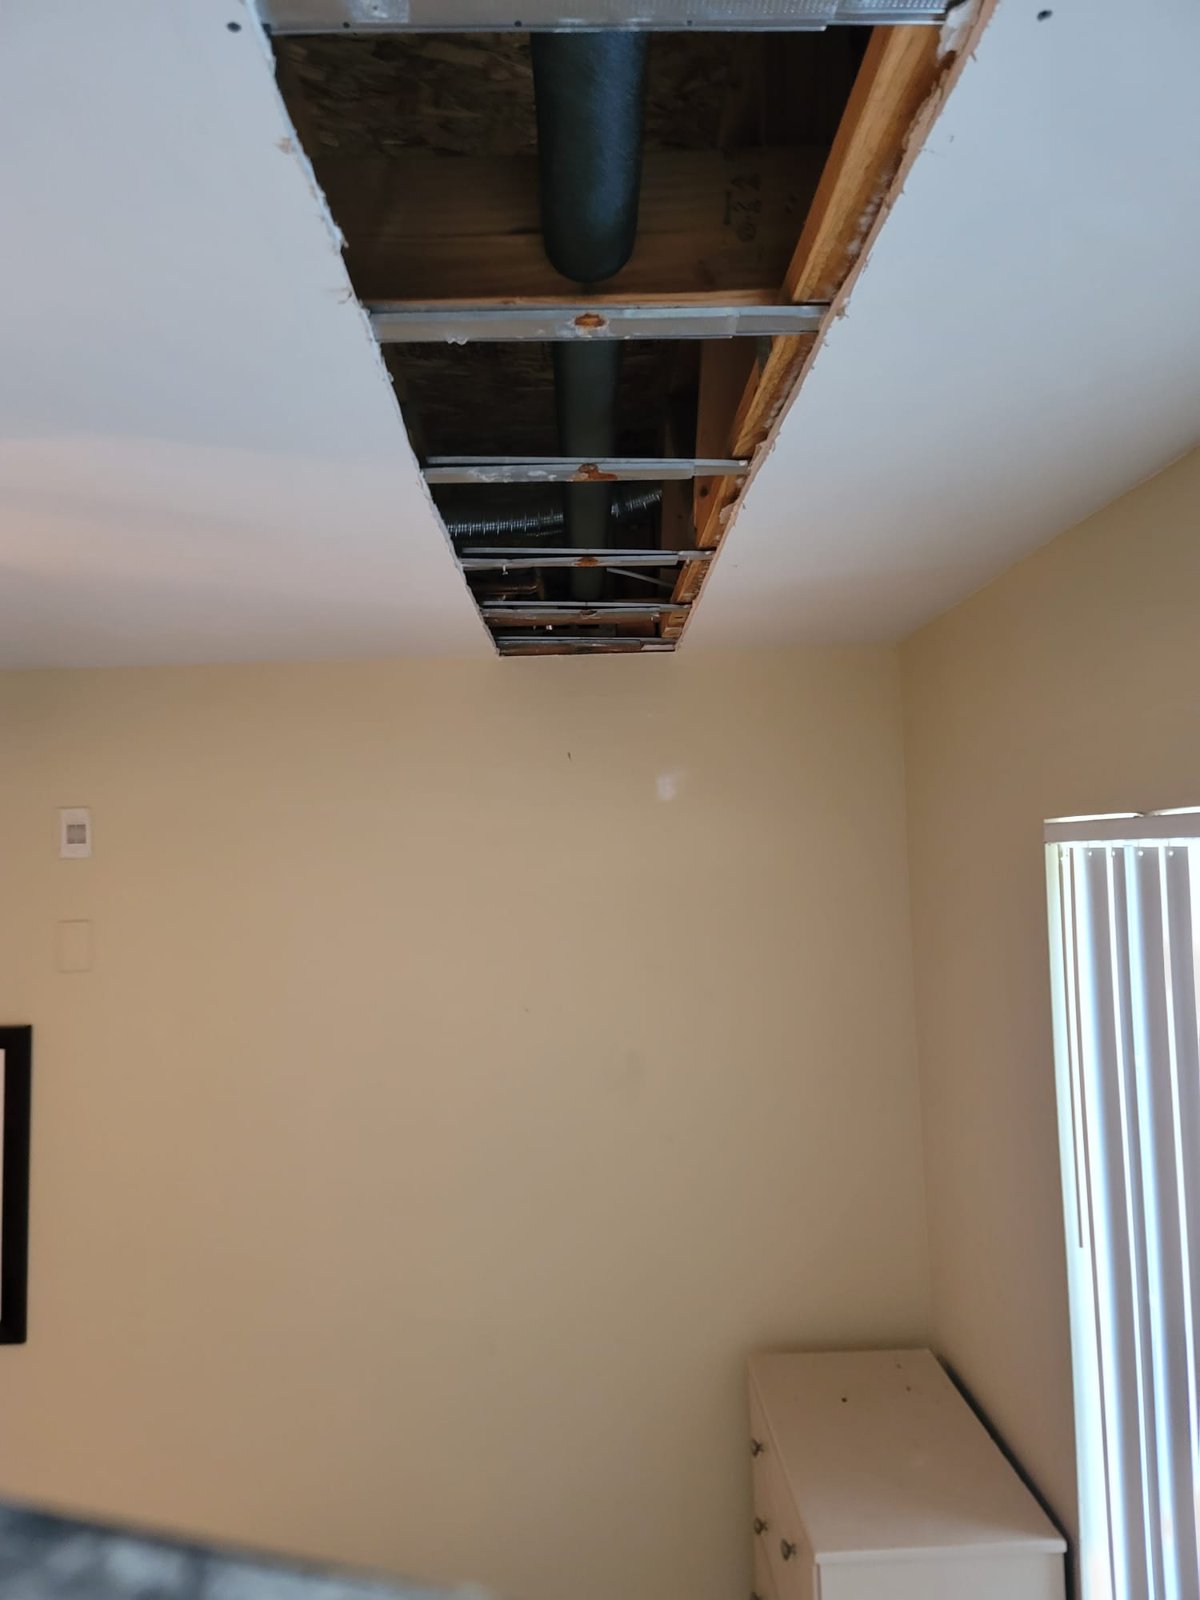
A stained ceiling should not simply disappear under new board. The source of the water needs attention first, followed by an assessment of the affected materials. Covering a leak leaves the cause in place and makes it harder to see what is happening. EPA guidance on moisture and mold emphasizes fixing water problems and drying affected surfaces before finishing over them.
Preparation also means looking at the support for the new surface. The installation needs suitable backing at edges and openings, with framing conditions addressed before the finish hides them. Uneven transitions between existing and new walls deserve attention here. Adding compound later is not a substitute for resolving an unsupported edge or a wall that is out of alignment.
An open wall provides an opportunity to coordinate the work that belongs inside it. Wiring, plumbing changes and insulation should be considered together with the room layout. Locations for wall-mounted cabinets or other planned fixtures can be identified while backing is accessible. This reduces the chance of cutting into newly finished walls to complete an overlooked part of the remodel.
The room itself needs preparation as well. Floors, furnishings and the route used to carry materials need protection appropriate to the work. Separating the work area from everyday household activity makes the disruption easier to manage.
03 / YOUR DRYWALL PROJECT
The permit question depends on the renovation behind the drywall. A surface repair and a remodel that moves walls, changes wiring or reroutes plumbing are different scopes. Denver's residential interior remodel guidance identifies work requiring review. Properties outside the city need the requirements of their own jurisdiction checked.
Required rough inspections belong before the work is covered. Hanging board early can mean opening it again so an inspector can see the installation. The schedule should therefore connect the drywall stage to the completion and approval of the underlying work, rather than treating delivery day as permission to close every wall.
Drywall installation must also follow the intended wall or ceiling assembly. Board selection, attachment and the surrounding construction need to suit that assembly. A decorative surface choice does not establish a fire or sound rating. Where the project requires specific performance, the specified construction must be preserved through openings and repairs as well as across the main surface.
For the homeowner, the practical question is straightforward. What must be completed and checked before this wall closes? Answering that early keeps the sequence clear without turning a finishing project into a last-minute search for missing work.
04 / YOUR DRYWALL PROJECT
Once the underlying work is ready, the room begins to take shape quickly. Sheets cover the framing, and doorways, ceiling changes and window openings become visible as finished forms. The layout of the board and the treatment of its edges matter because every joint and corner will be part of the finishing work that follows.
Ceilings deserve their own attention. A long uninterrupted ceiling exposes changes in plane differently from a short wall broken up by doors. Soffits add outside corners and narrow returns. Around existing openings, the new surface must meet the retained material without an abrupt step. These details help explain why two rooms with similar floor areas can involve different amounts of work.
The installation should leave planned electrical openings and required service access usable. Cabinet, trim and fixture locations also need to remain coordinated with the finished wall thickness. The room still has to accept the things that will be installed on and through it.
Before joint finishing begins, the board work can be reviewed as a whole. This is the stage to notice an overlooked opening, an awkward transition or a detail that needs correction. Repairing those issues now is less disruptive than working around completed paint and trim.
05 / YOUR DRYWALL PROJECT
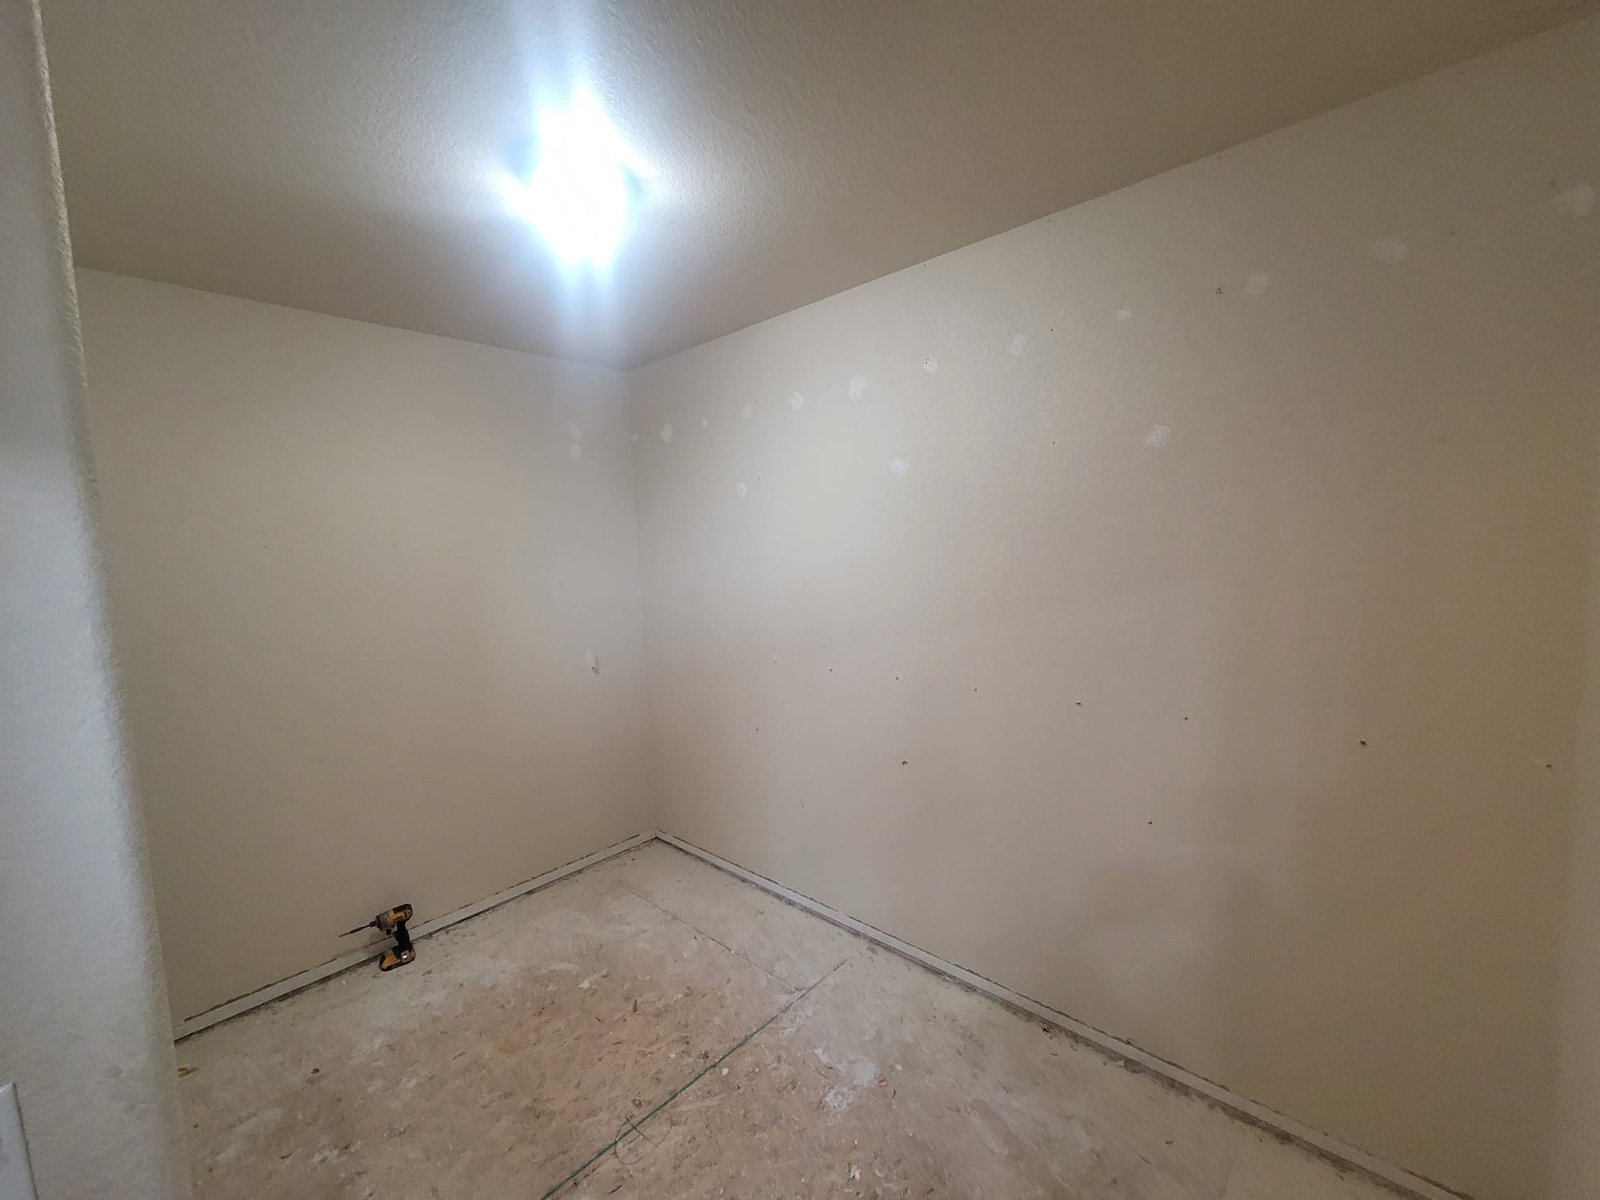
Will the repaired area match the rest of the room? It is a reasonable concern, especially where a small new section meets a large textured wall. The existing pattern, paint buildup and light all affect what the eye notices. A match should be evaluated in the room rather than promised from a close-up photograph.
There are two different decisions here. One is how much of the wall needs treatment. The other is what finish that surface should receive. A patch can be structurally sound yet remain visible because its texture or paint sheen differs from the surrounding area. Extending the finish to a natural boundary may give a more consistent result than stopping directly around the repair.
Smooth finishes require a clear discussion of lighting and paint. National Gypsum explains that a Level 5 finish adds a skim coat over the whole surface beyond the joint treatment associated with Level 4. That additional preparation is relevant where strong directional light or the chosen paint makes surface differences more noticeable.
The finish should be selected before drywall installation is priced and scheduled. A broad wall beside a window and a small closet do not have the same visual demands. Agreeing on the expected appearance helps avoid treating extra finish work as an afterthought once the room is painted.
06 / YOUR DRYWALL PROJECT
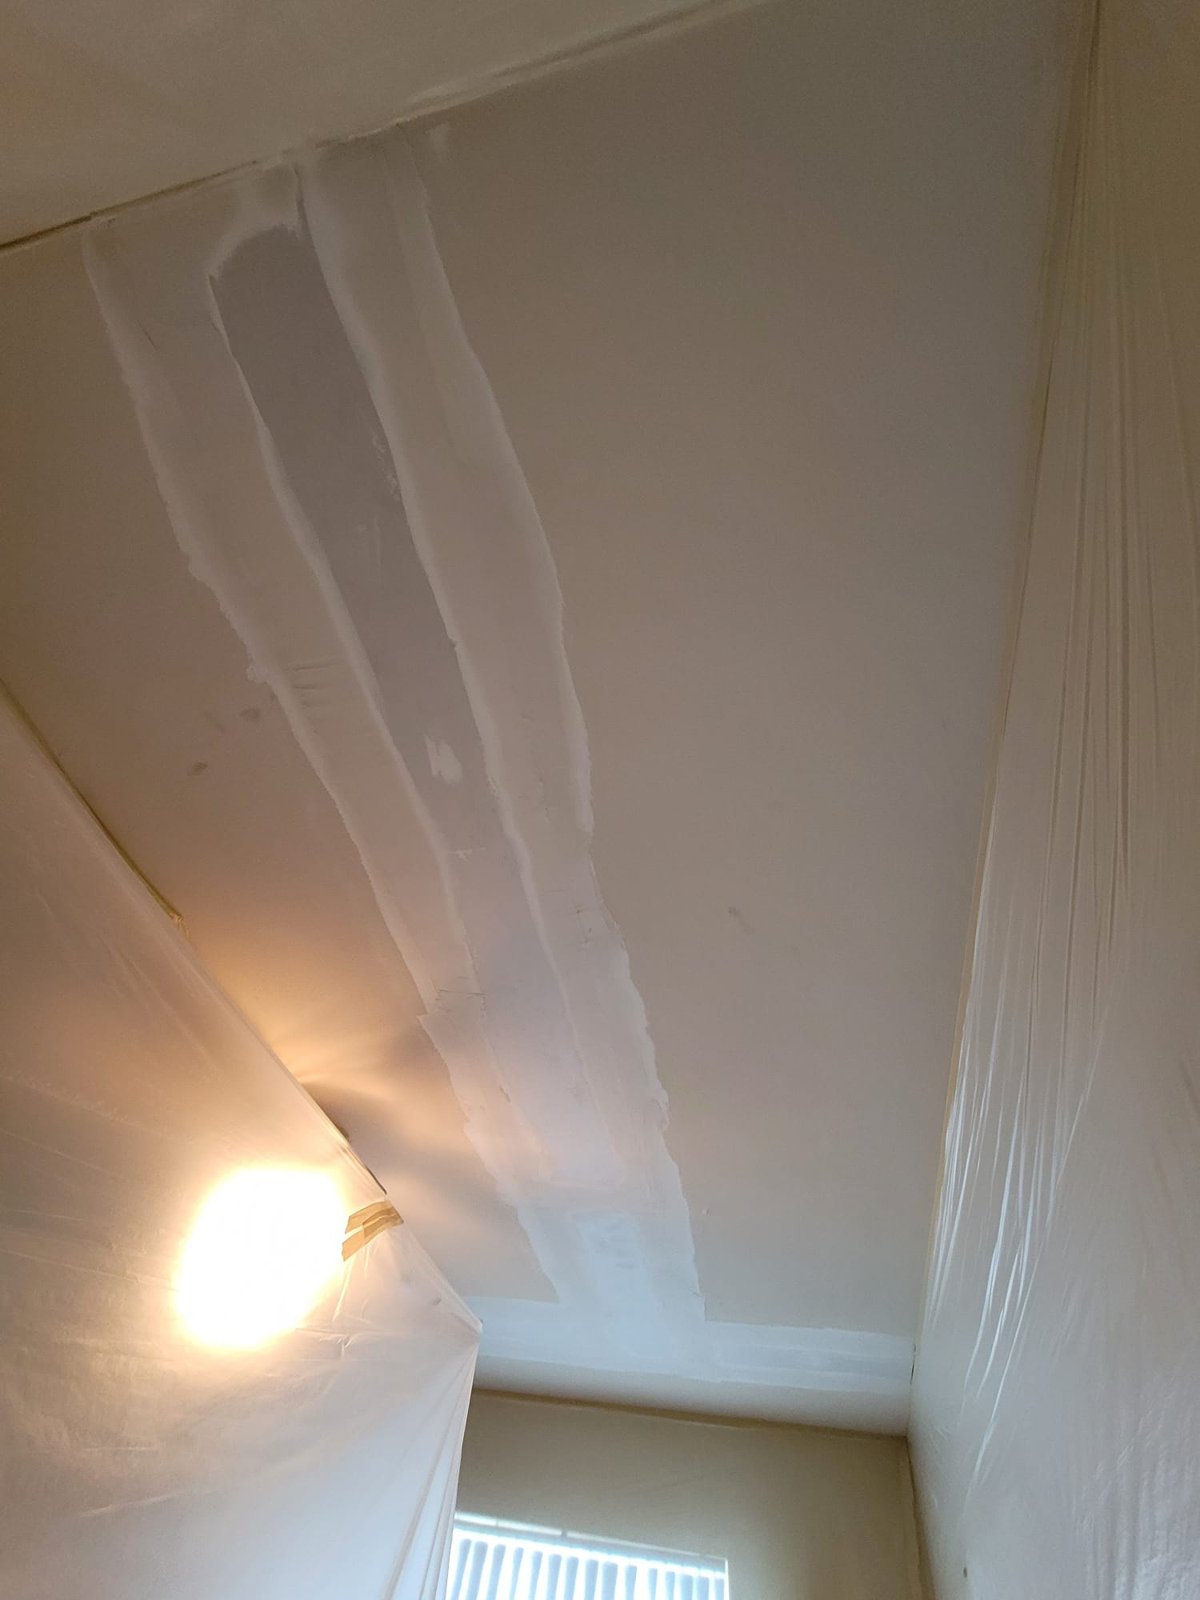
Hanging the sheets is not the end of the job. Joint treatment brings separate panels together visually, with work at seams, corners and fasteners. Finishing takes successive stages, and the materials need suitable conditions between them.
This is why the schedule should distinguish board installation from the finished surface. Drying conditions, the selected products and the amount of finishing all affect when the next stage can begin. A fixed promise based only on room size overlooks those differences. The sequence needs to leave time for the actual materials rather than rushing to meet a paint date.
Sanding and cleanup should be coordinated with the home's occupied areas. Dust collection, protection and cleaning are part of the work plan. Furnishings should return after the relevant finishing and cleanup stages, not simply when the sheets are in place.
USG's finishing guidance calls for dry, dust-free surfaces and preparation compatible with the selected decoration. Primer and paint follow their product instructions. Looking over the surface before final paint gives the finishing team a chance to address visible imperfections while access is still straightforward.
07 / YOUR DRYWALL PROJECT
The amount of board is one cost factor, but finishing labor and preparation can change the scope substantially. Ceiling work, numerous corners, difficult access and repairs beside retained finishes all deserve attention. A small repair may involve several visits, while a larger open room may allow longer uninterrupted areas of work.
Pricing should identify whether removal, disposal, protection, board installation, joint finishing, texture, primer and painting are included. A project-specific estimate needs the surfaces, condition and desired finish established first.
At the walkthrough, review walls and ceilings with the intended room lighting, along with corners, transitions and adjoining trim. Confirm which decoration and cleanup stages are complete and note any remaining touch-ups. The finished work should be assessed as part of the room people will use, not only as individual patches viewed in isolation.
Contact Denver Basement Finishing Pros to discuss the rooms and surfaces included in your remodel. The conversation can start with what is changing, what needs repair and the finish you want to see when the room is ready to use.
BEFORE YOUR PROJECT BEGINS
No. A limited opening may be repairable while the surrounding board remains sound. Widespread damage or a changed layout can call for more replacement. The cause and extent of damage should be assessed before deciding how much material to remove.
A close match may be possible, but texture, paint buildup and lighting affect the result. Reviewing the existing surface helps determine whether a localized blend or refinishing a complete wall makes more sense. An invisible match should not be assumed.
Seams, corners and fasteners need treatment after the board is installed. The finishing stages and drying conditions determine when sanding, priming and painting can proceed. The installation date and the date the room is ready for decoration are different milestones.
No. The finish describes surface preparation. Primer and paint are subsequent parts of the work. Smooth appearance also depends on lighting and the selected paint, so the expected result should be discussed before finishing begins.
The leak and affected materials need assessment first. New board or paint can hide a stain without addressing the moisture problem. Repair and drying requirements should be resolved before the ceiling is closed and decorated.
Describe the rooms, walls or ceilings involved, whether the work follows a remodel or damage, and the finish you prefer. Access and existing surfaces help define the work. Drywall installation pricing also depends on which preparation and decorating stages are included.
LET’S TALK ABOUT YOUR HOME
Tell us what you have in mind. We’ll discuss your goals and arrange a walkthrough to understand the work involved.