
Floor and drainage preparation
Floor structure, drain placement and entry height determine preparation.
DENVER BASEMENT FINISHING PROS
A shower entrance should work for the person using it, from the approach across the bathroom to the place where they stand or sit. Removing a raised curb can simplify that entrance, but the finished result depends on much more than the absence of a step. Floor heights, drainage, waterproofing and room to move all need to work together.
Barrier free shower installation in Denver starts with your bathroom and your priorities. You may want an easier entrance, space for seated bathing or a more open room. Describe what is difficult about the current shower so the proposed changes address the actual problem rather than copying a photograph.
PLANNING YOUR INVESTMENT
A project-specific estimate should reflect the agreed scope and material selections.
Floor structure, drain placement and entry height determine preparation.
The selected waterproofing assembly and water-containment design shape installation.
Tile, fixtures and any support provisions complete the shower arrangement.
Discuss your property and the work you want to complete.
Request an estimate01 / Barrier Free Shower Installation
Start with the route from the bathroom door to the shower. A wide shower entrance offers limited help when a vanity, inward-swinging door or narrow passage blocks the approach. Measure the usable space with doors and drawers open as well as closed. Include the location where clothing, towels and bathing supplies will be kept.
Discuss whether the shower will be used standing, seated or with assistance. Those arrangements affect the location of controls, the type of seat and the space around it. If a mobility device is part of everyday use, its dimensions and maneuvering needs belong in the design conversation. A product described as accessible does not establish that it suits every user.
Useful priorities to bring to the planning meeting include the following.
For needs connected to a disability or changing mobility, consider input from an appropriate accessibility professional. The construction plan can then respond to specific requirements without making assumptions about what a lower entrance will accomplish.
02 / Barrier Free Shower Installation
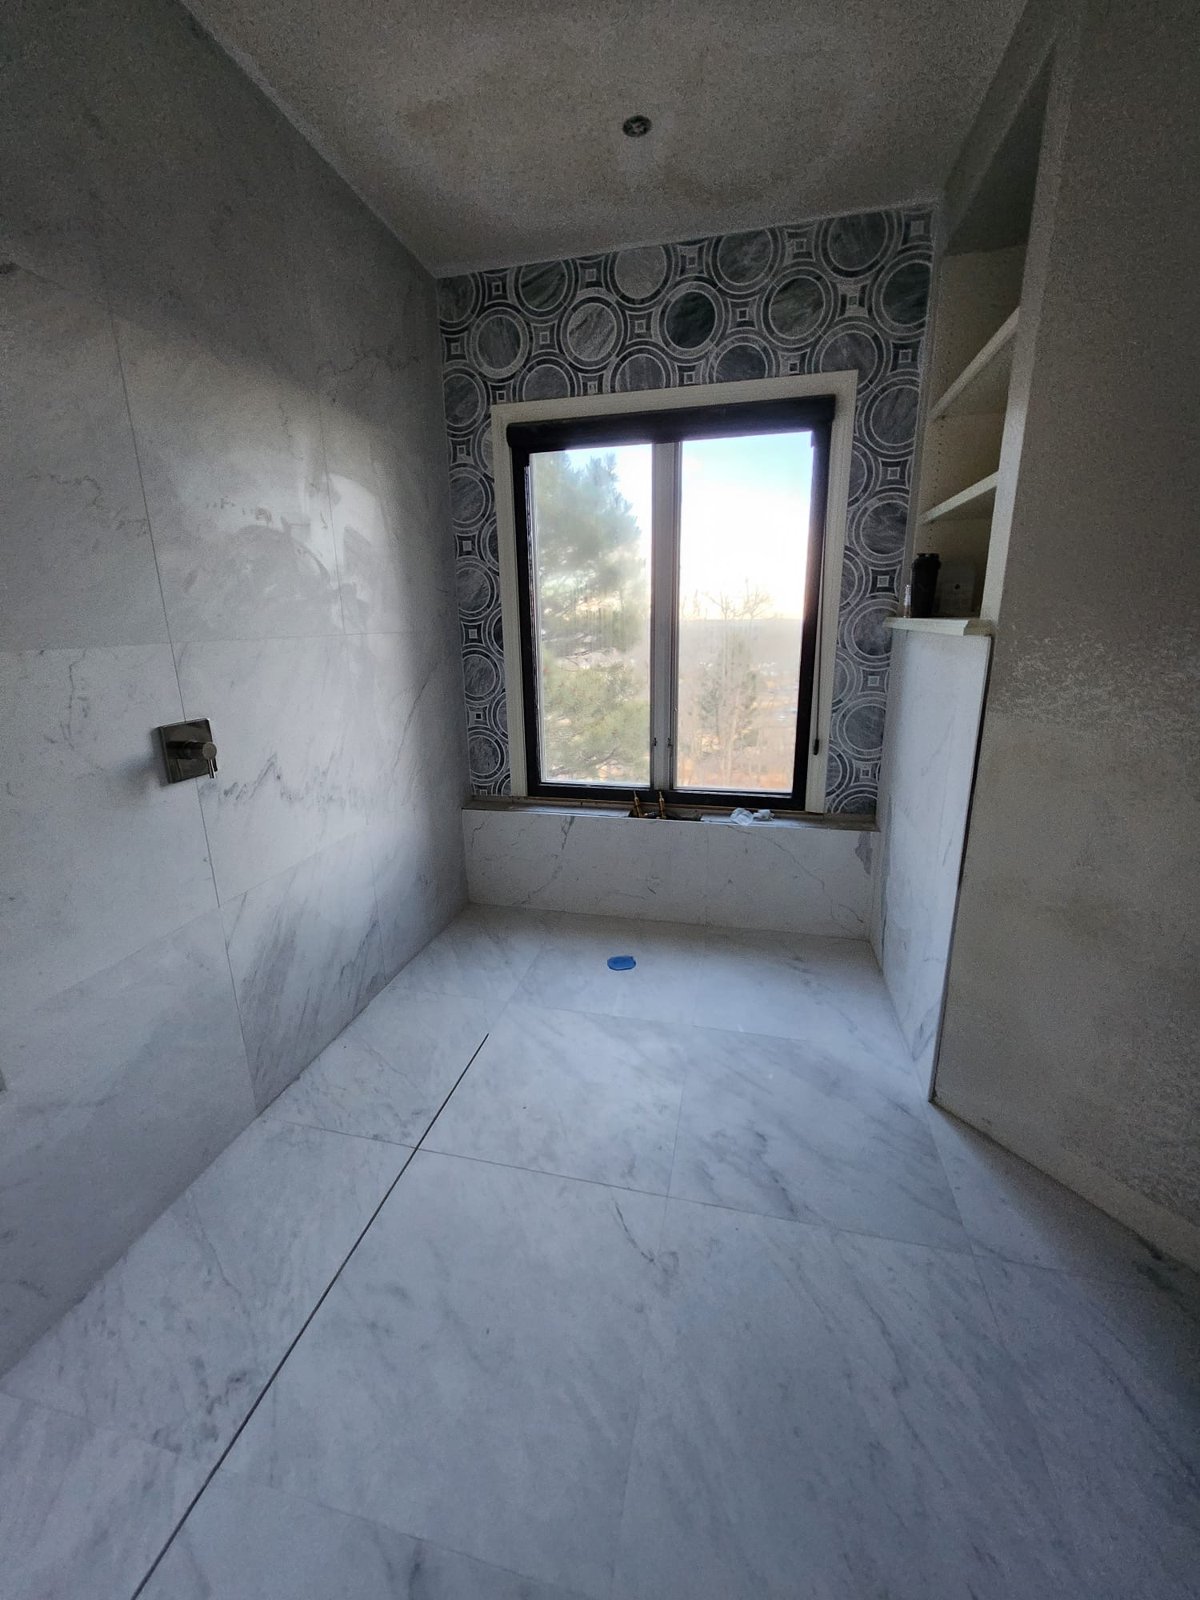
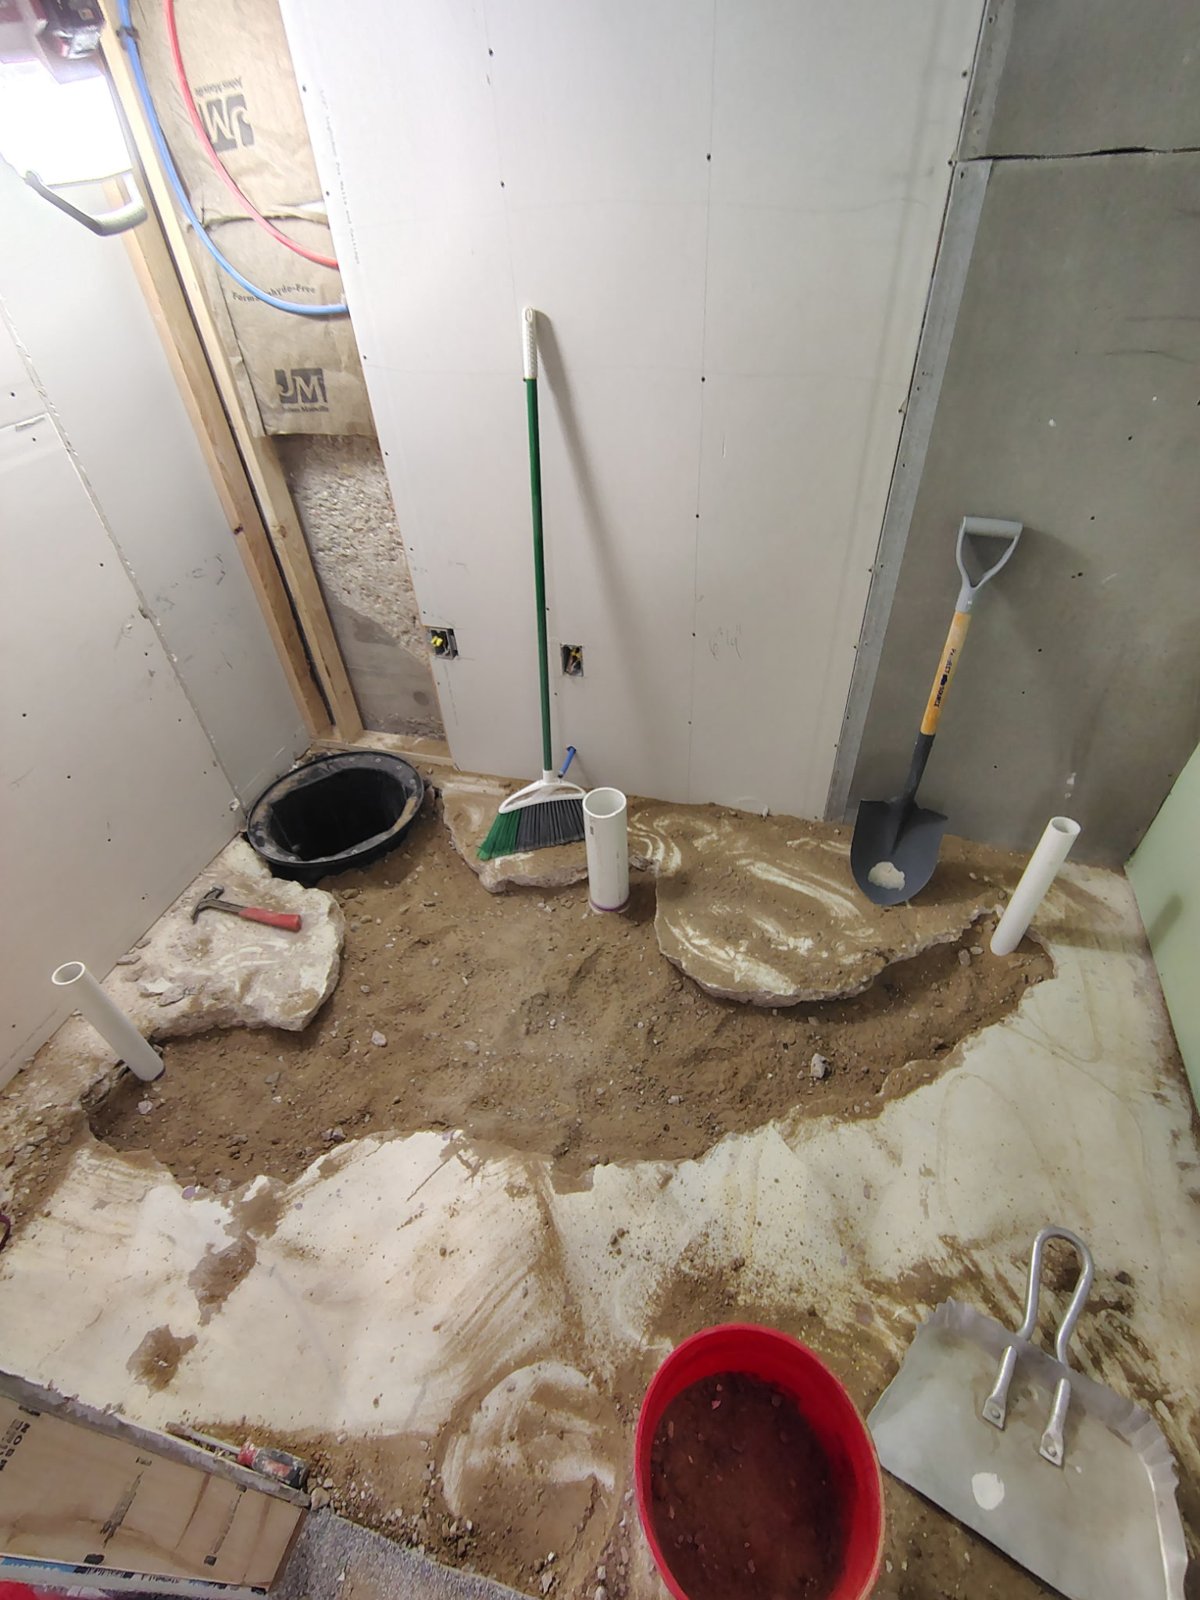
A curbless entrance still needs a shower floor that directs water toward the drain. The thickness of the shower assembly and the surrounding bathroom floor determines whether those surfaces can meet as intended. This is why floor elevation should be reviewed before choosing tile or ordering a shower base.
On a framed floor, the available depth and structural arrangement affect whether the shower area can be recessed. On a concrete floor, the drain position and proposed changes may require a different approach. Cutting or altering structural components is not a routine finish decision. Any necessary structural review belongs before demolition changes the support.
Schluter's curbless shower guidance treats floor recessing, slope, drainage and waterproofing as connected parts of the assembly. Ask how the proposed floor levels will work rather than assuming a thin tray alone creates a level entrance.
If recessing is unsuitable, the design may need another transition or a change to the surrounding floor. Review the entire route into the bathroom before accepting a raised floor or ramp. Moving a difficult transition from the shower to the doorway may leave the original access problem unresolved.
03 / Barrier Free Shower Installation
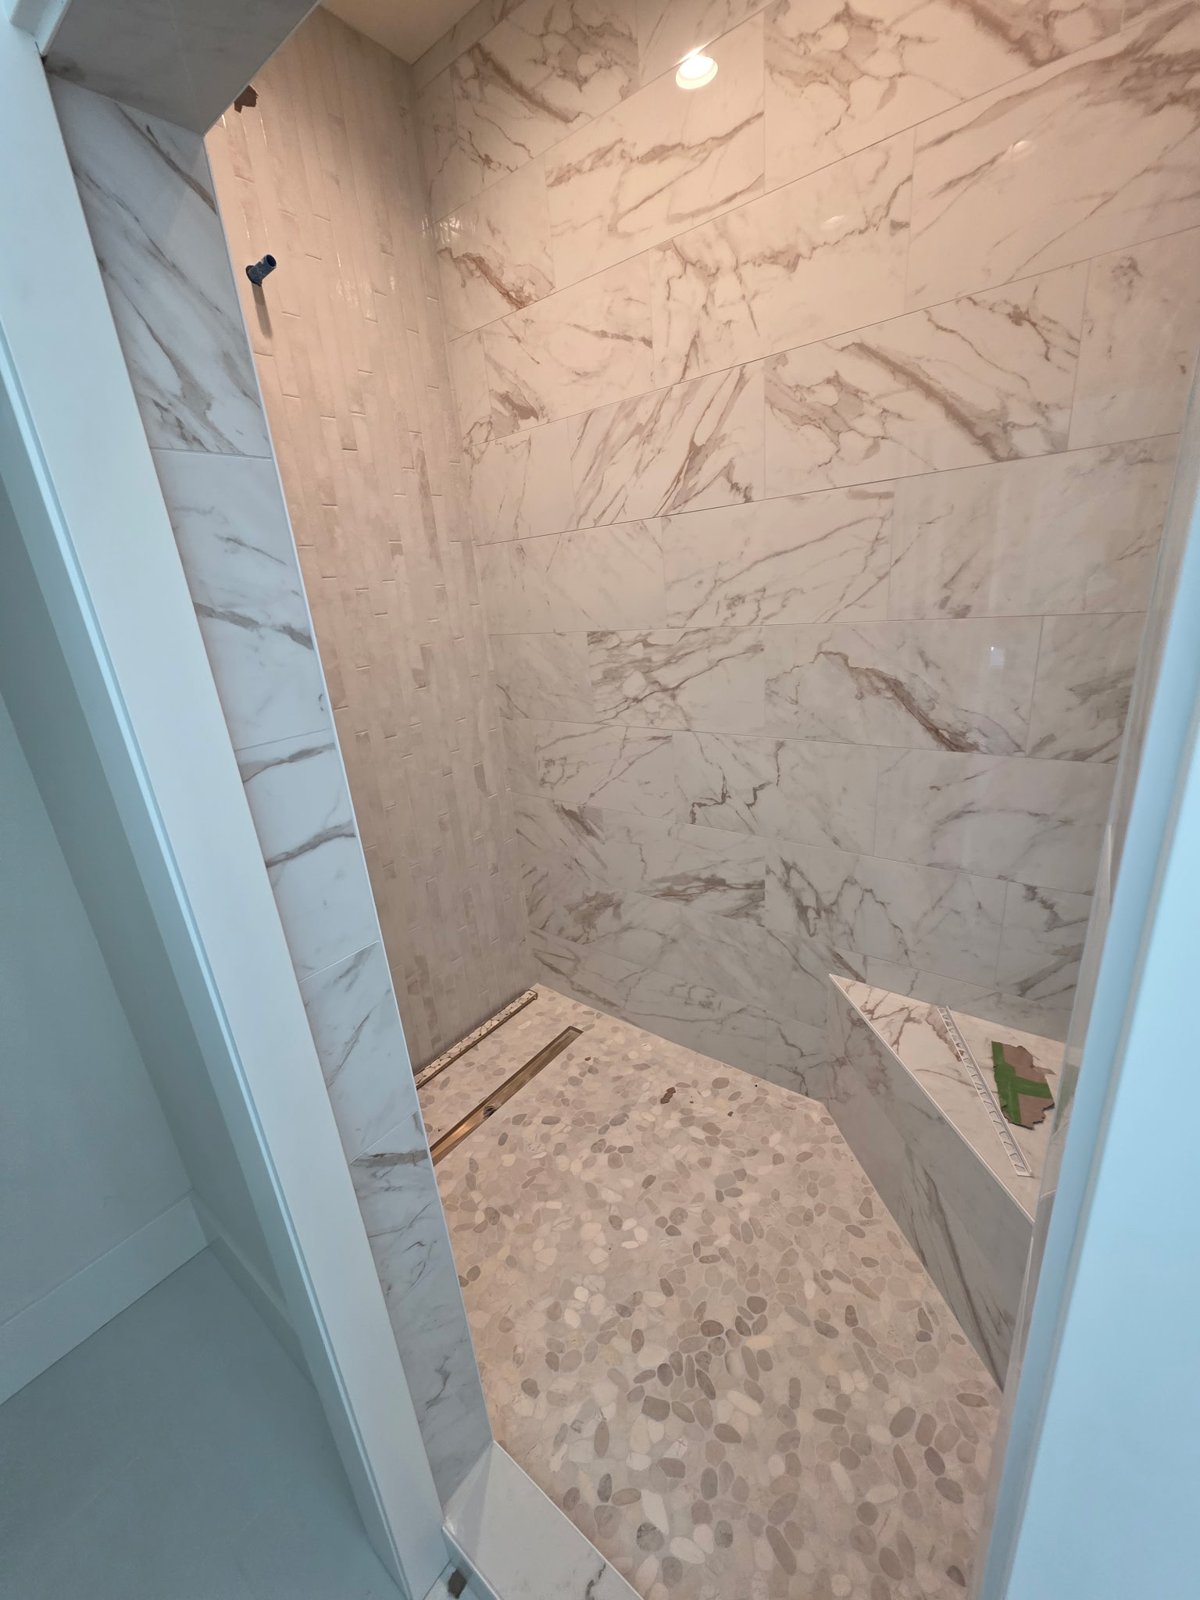
Drain placement influences the shape of the shower floor. A point drain and a linear drain can require different slopes and tile layouts. Choose the drainage approach alongside the shower dimensions, entry and fixture positions, rather than selecting the grate only for its appearance.
A doorless opening needs a realistic splash plan. The direction of the showerhead, distance to the entrance and position of any glass screen affect where water lands. A larger overhead fixture or additional spray outlet can change that pattern. Review the proposed fixtures together instead of treating each as an independent upgrade.
Ask how the drain will be accessed for cleaning. A grate that looks discreet should still be practical to lift or service according to its instructions. Hair and soap buildup can interfere with drainage, so maintenance access is part of the design rather than an inconvenience to solve after installation.
04 / Barrier Free Shower Installation
Tile and grout are the visible finish. The waterproofing underneath needs a continuous plan at the shower floor, walls, corners, drain connection and other water-exposed transitions. At a curbless opening, that plan must also account for water reaching the adjacent bathroom floor.
Request an explanation of the selected system and the areas it will protect. The details around a niche, seat, pipe opening and glass attachment matter because each interrupts an otherwise continuous surface. Combining materials without confirming their compatibility can create uncertainty at exactly those connections.
The preparation and verification steps should follow the selected assembly and applicable requirements. Ask which checks occur before tile covers the waterproofing and when the area can be exposed to water. A finished-looking shower does not make those concealed details visible, so retaining appropriate records can be useful for future maintenance.
05 / Barrier Free Shower Installation
Compare floor tile using more than color. Wet-use suitability, surface texture, grout joints and the shape of the sloped floor all affect the choice. Large tiles may need additional cuts to follow a particular slope. Small tiles introduce more joints to clean. Request samples and discuss the intended installation before ordering the full quantity.
A seat should suit the way it will be used and leave appropriate room for movement. A folding seat changes the space differently from a built-in bench. Both need suitable support and a coordinated waterproofing detail. A decorative ledge should not be assumed to function as a seat.
Grab bars also need planned placement and support. Towel bars and shower accessories are not substitutes. Discuss backing while walls are open, including whether preparation for a future bar belongs in the scope. The mounting method must remain compatible with the waterproofed wall.
Locate controls, the handheld spray holder and storage as a group. It should be possible to reach the items needed during bathing without a series of awkward movements. Finish selections can follow those practical decisions without sacrificing the overall appearance.
06 / Barrier Free Shower Installation
Confirm permit and inspection responsibilities for the actual property and scope before altering the floor structure or plumbing. Required inspections should be completed before the affected work is concealed.
Before work begins, clarify whether the project replaces only the shower or also changes the bathroom floor, doorway, vanity or nearby finishes. Barrier free shower installation can extend beyond the original enclosure when the entry elevation or waterproofing requires surrounding work. A written scope should make those boundaries clear.
Arrange another bathing option for the period when the shower is unavailable. Discuss access through the house, protection of nearby rooms, material storage and the handling of demolition debris. If the work affects shared plumbing, ask how shutoffs will be communicated so the rest of the household can plan around them.
Existing staining, loose finishes or previous leaks deserve attention during the initial assessment. Once finishes are removed, concealed damage may change the repair scope. Agree how findings will be documented and how a proposed change will be reviewed before additional work proceeds.
07 / Barrier Free Shower Installation
The final review should include the entrance, controls, drainage and fittings, not simply the tile appearance. Check that doors or screens operate as intended and that the planned reach to controls and storage remains practical. Confirm that the shower can be used only after the relevant materials have completed their required curing period.
Keep product information for the drain, waterproofing system, fixtures, tile and grout. Ask which cleaning products and methods are suitable for each surface. Abrasive cleaners or aggressive treatment may be unsuitable for a particular finish even when another bathroom surface tolerates them.
Watch for changes such as persistent standing water, loose fittings or damaged joints. Those conditions deserve assessment rather than repeated cosmetic patching. An accessible cleaning routine and clear service information make it easier to look after the shower as the household's needs change.
08 / Barrier Free Shower Installation
Bring photographs of the existing bathroom, approximate room dimensions and a short list of access priorities when contacting Denver Basement Finishing Pros. Include whether the bathroom is on a concrete or framed floor if you know, and identify any known leak or drainage concerns.
If the shower is part of a larger change, review the bathroom remodeling scope at the same time. Coordinating the surrounding room early can prevent a new shower entrance from conflicting with a later vanity, flooring or doorway decision.
No. Removing a curb does not establish ADA compliance or suitability for a particular person's needs. Accessibility involves the layout, clearances, controls, fittings and other applicable criteria. Ask which requirements apply to the project and have the design reviewed against those requirements. For a private home, the household's actual access needs remain central to the discussion.
Sometimes the existing conditions allow a localized change, but that cannot be assumed. The shower needs sufficient depth for its drainage slope and complete floor assembly while meeting the adjacent floor appropriately. The surrounding waterproofing and doorway transitions may also need work. Confirm the proposed elevations and affected areas before accepting a shower-only estimate.
No. The entrance and enclosure can be considered separately. A door or fixed screen may help manage spray, but its opening, track and hardware must work with the access plan. A doorless arrangement needs suitable dimensions and fixture placement. Choose the arrangement around water control and everyday use rather than the label attached to it.
Some products can be added later, but support, placement and waterproofing still need to be addressed. Planning backing during construction may make future work simpler. Keep records of its location and discuss the intended fittings before the walls are closed. Never assume that an accessory can carry body weight because it feels firmly attached.
The routine depends on the installed drain, surfaces and fittings. Keep the drain clear according to its instructions, use compatible cleaning products and inspect visible joints and attachments. Water that repeatedly remains outside the intended wet area should be investigated. A low entrance does not remove the need to maintain drainage or protect adjacent finishes.
The main variables include the floor structure, drain relocation, shower size, waterproofing extent, glass, fittings and repair of concealed damage. Changes to the surrounding bathroom can also affect the scope. Compare estimates using the same entry design and included work. A project-specific assessment is more useful than a price based only on the shower's visible dimensions.
LET’S TALK ABOUT YOUR HOME
Tell us what you have in mind. We’ll discuss your goals and arrange a walkthrough to understand the work involved.